The Diorama

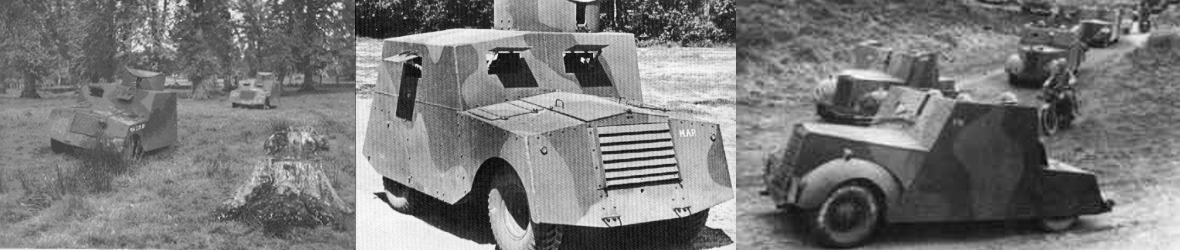
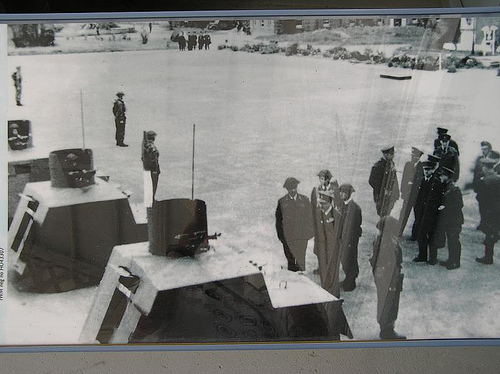
You’ll recall that the inspiration for the diorama was the photo below.

Beaverette inspection

So, I set about gathering figures to represent the inspection team as well as the soldiers under inspection. In a meta move, since the photo was the inspiration, I thought I should have a camera crew as well.  So, for figures I used:

  • Airfix Civilians (vinylish plastic; this is an ancient, out-of-production set of figures designed for model railroads – but it had some businessmen that could stand in for Lord Beaverbrook and aides)
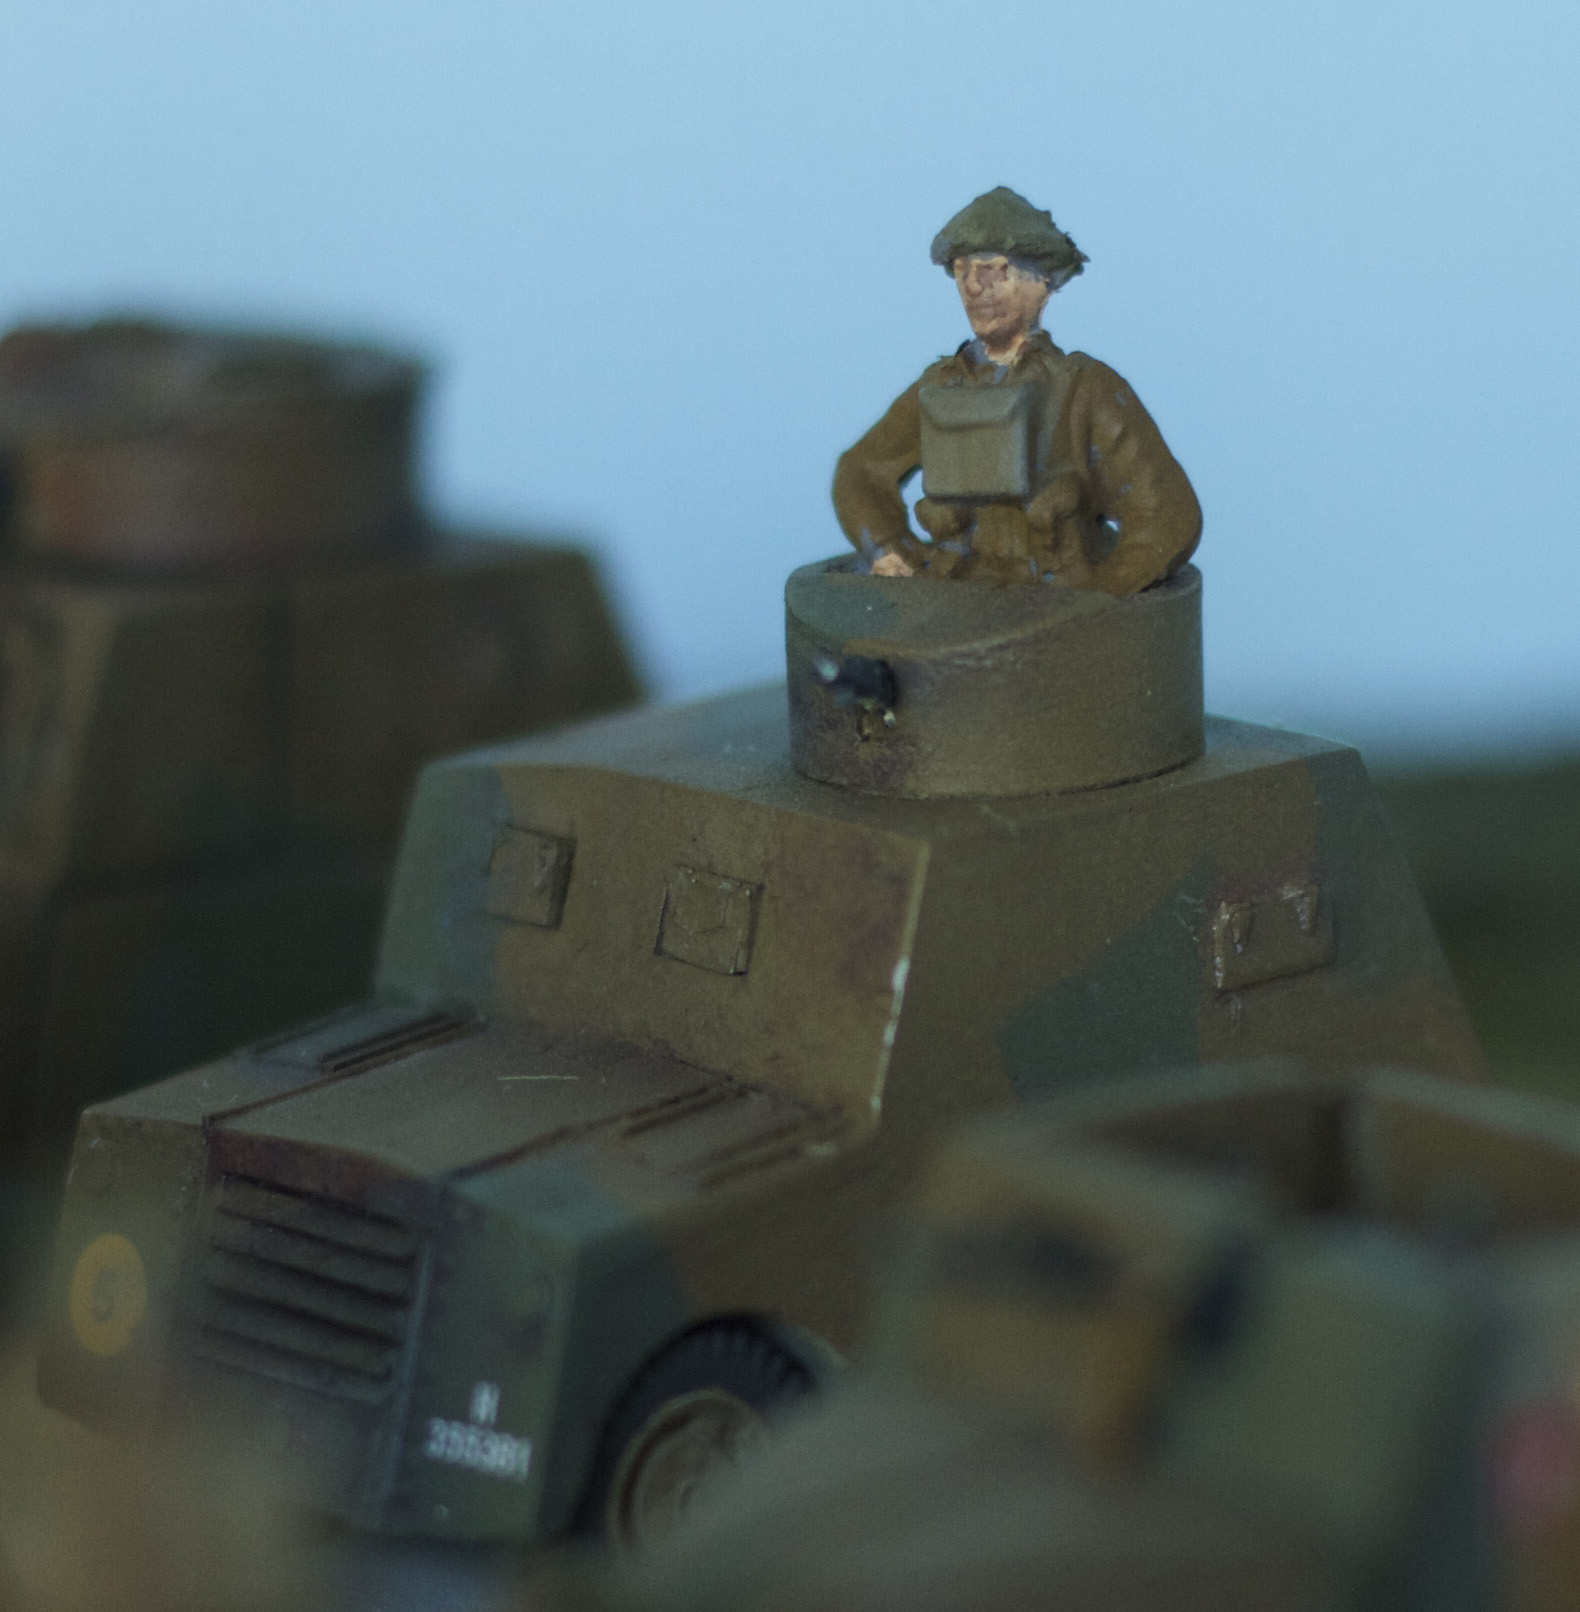
  • Airfix British Infantry (the dreaded vinyl-plastic; I used one figure to man a Beaverette Mk III turret after suitable surgery)
  • Bull Models BMF 12 UK Officers (resin)
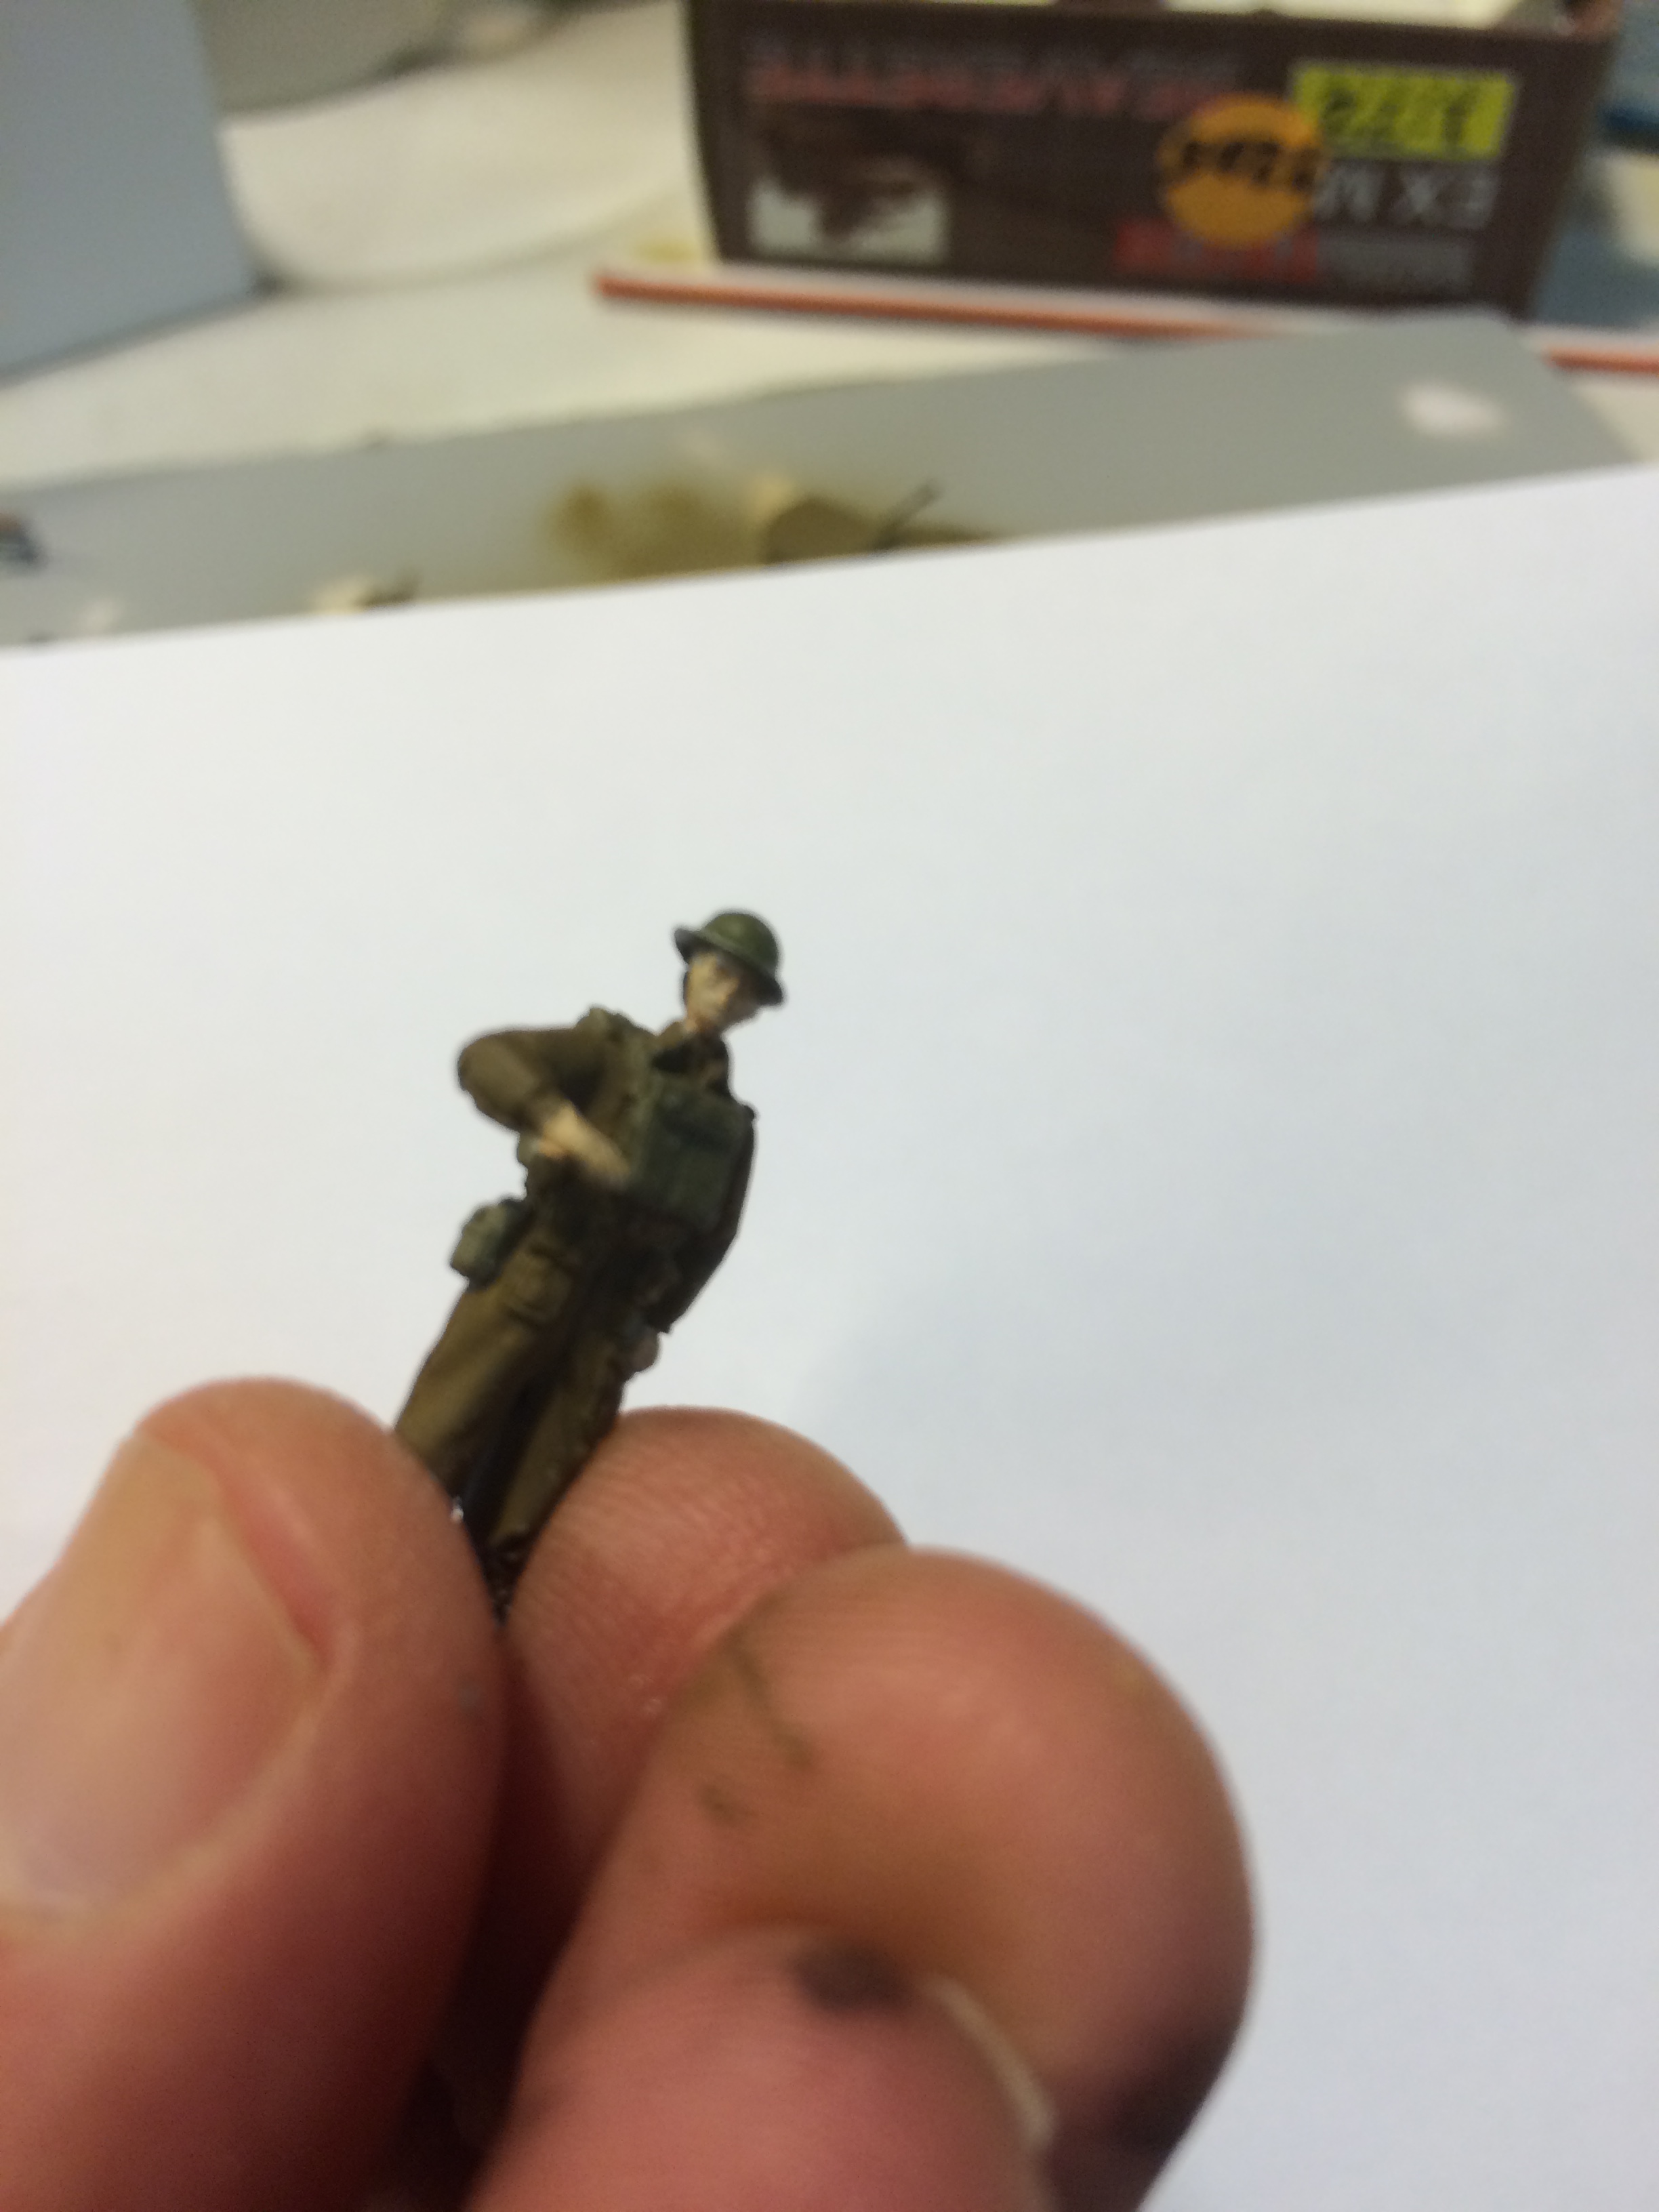
  • Bull Models BMF 01 1939/41 BEF/UK Soldiers (resin)
  • Bull Models BMF 10 1939/41 BEF/UK Personalities Gort, Montgomery & another officer (resin, at this scale, they could be any officer)
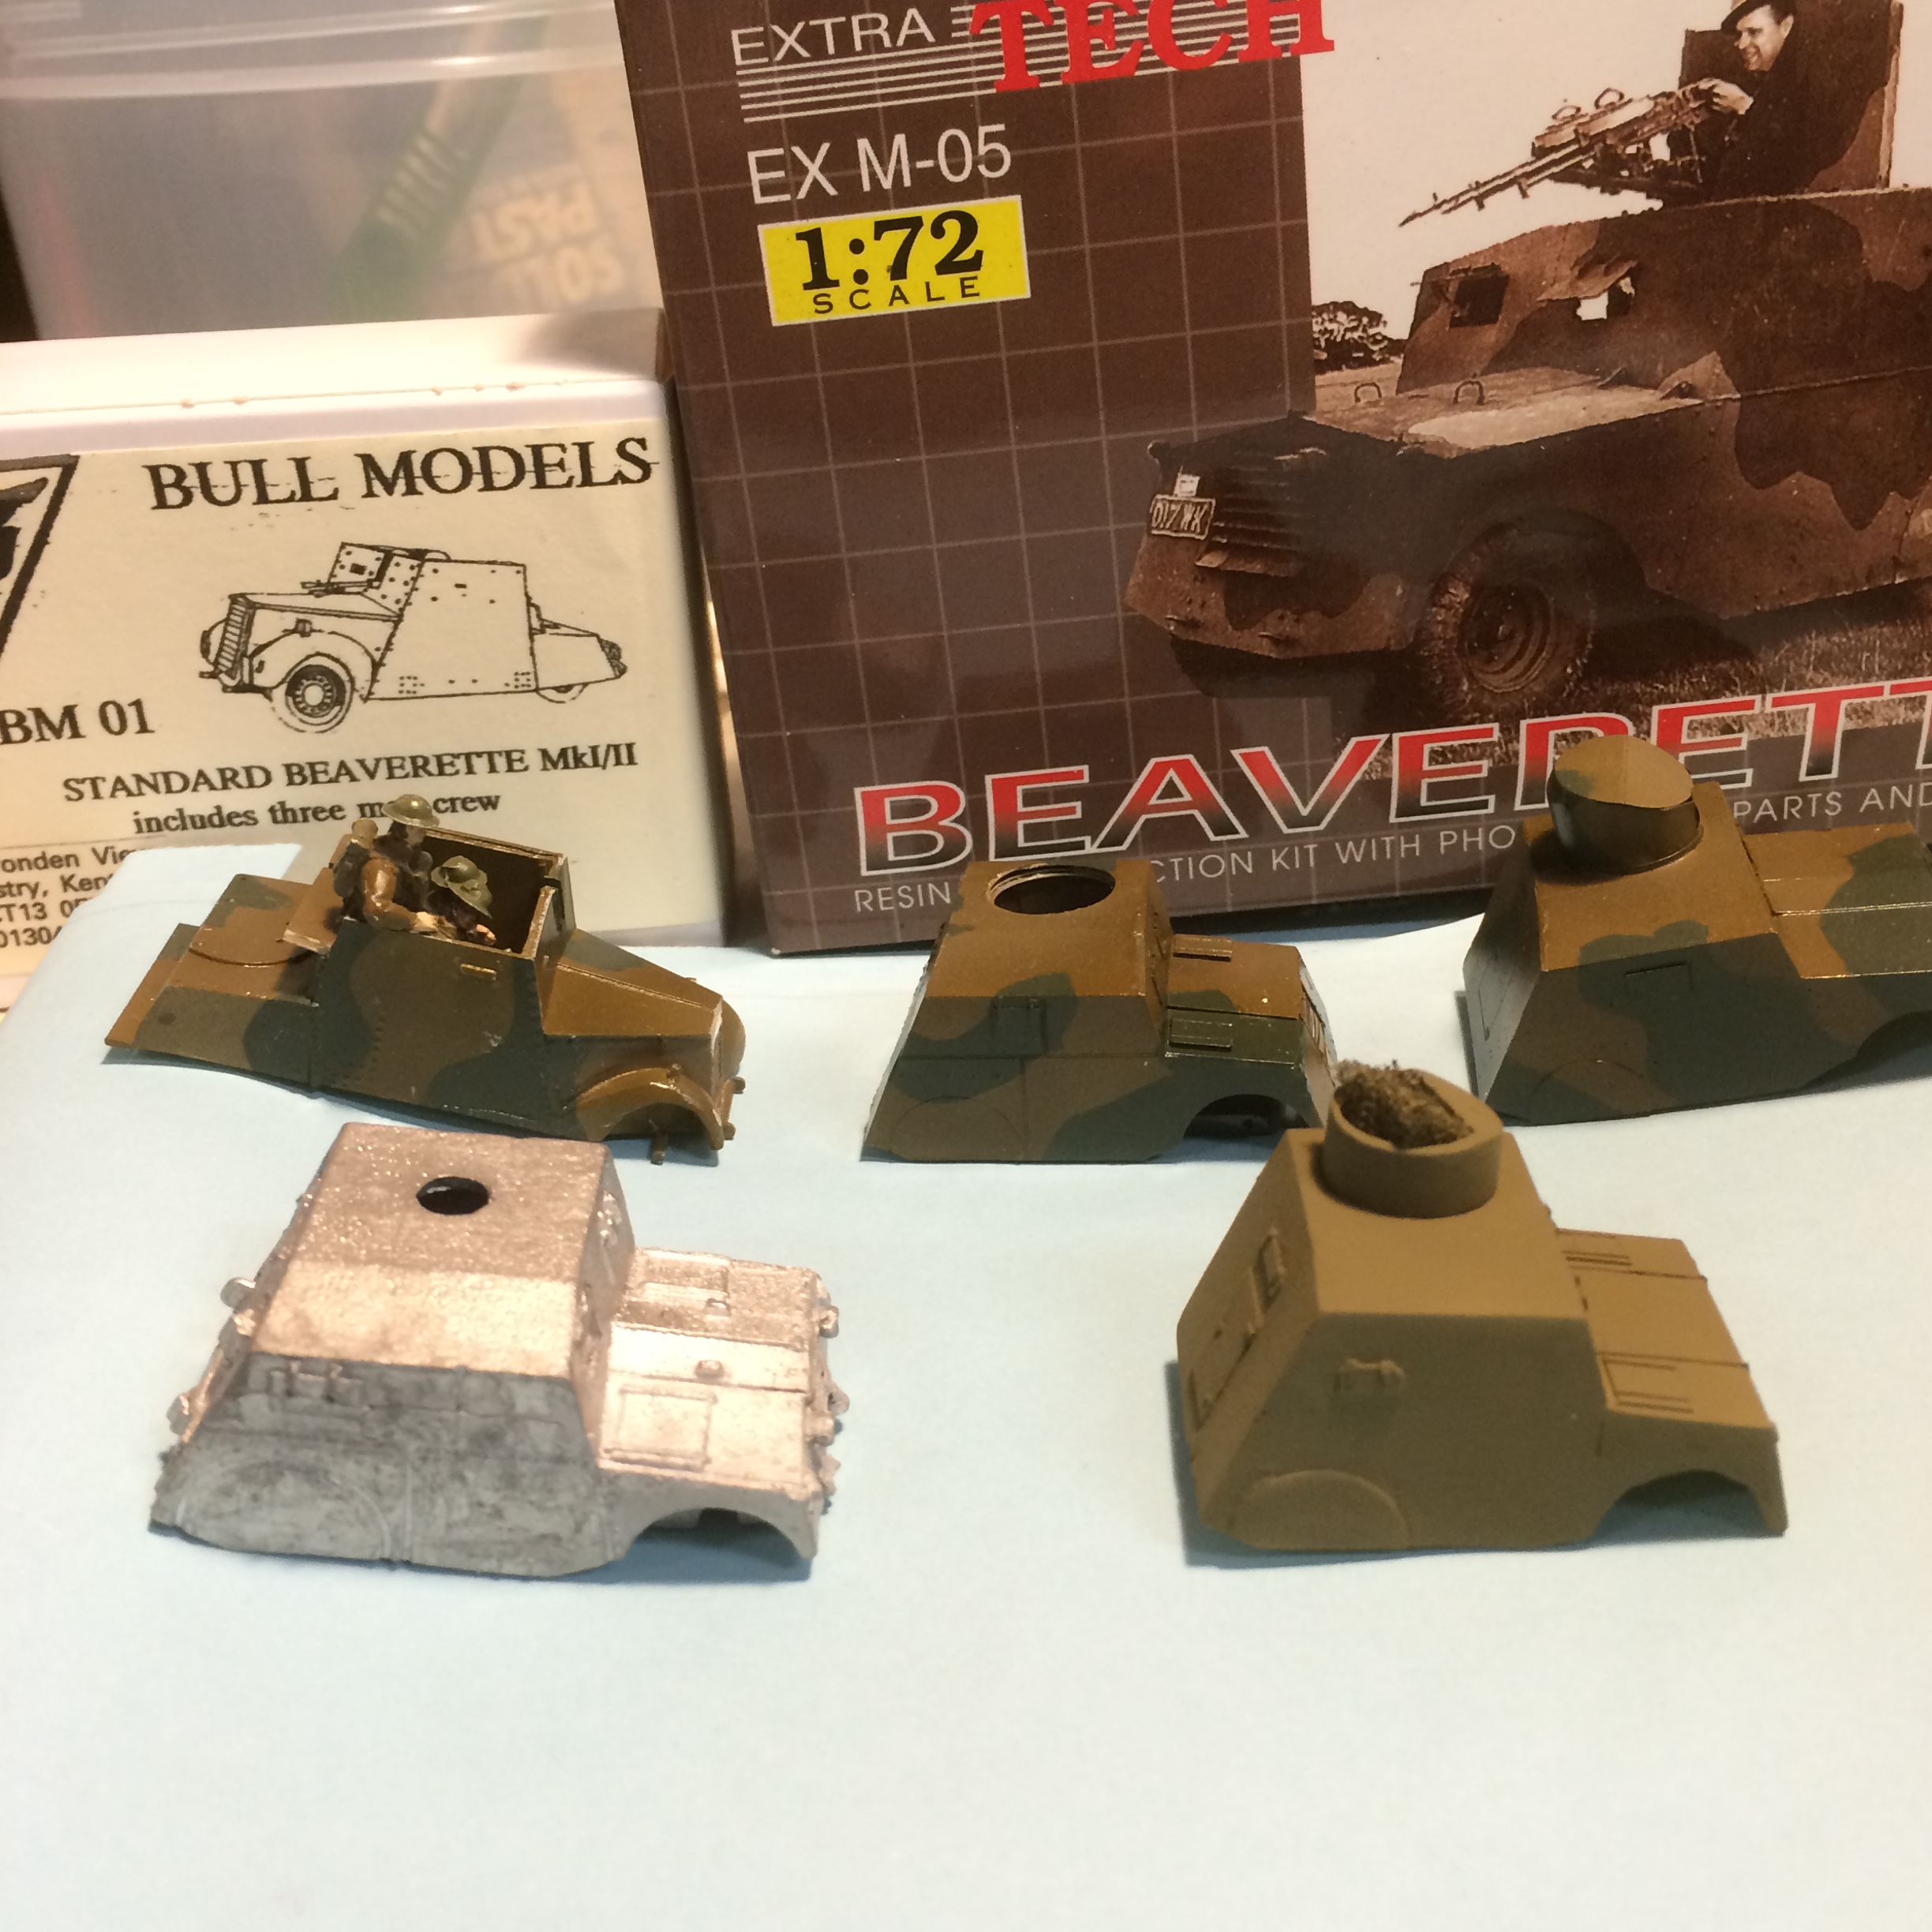
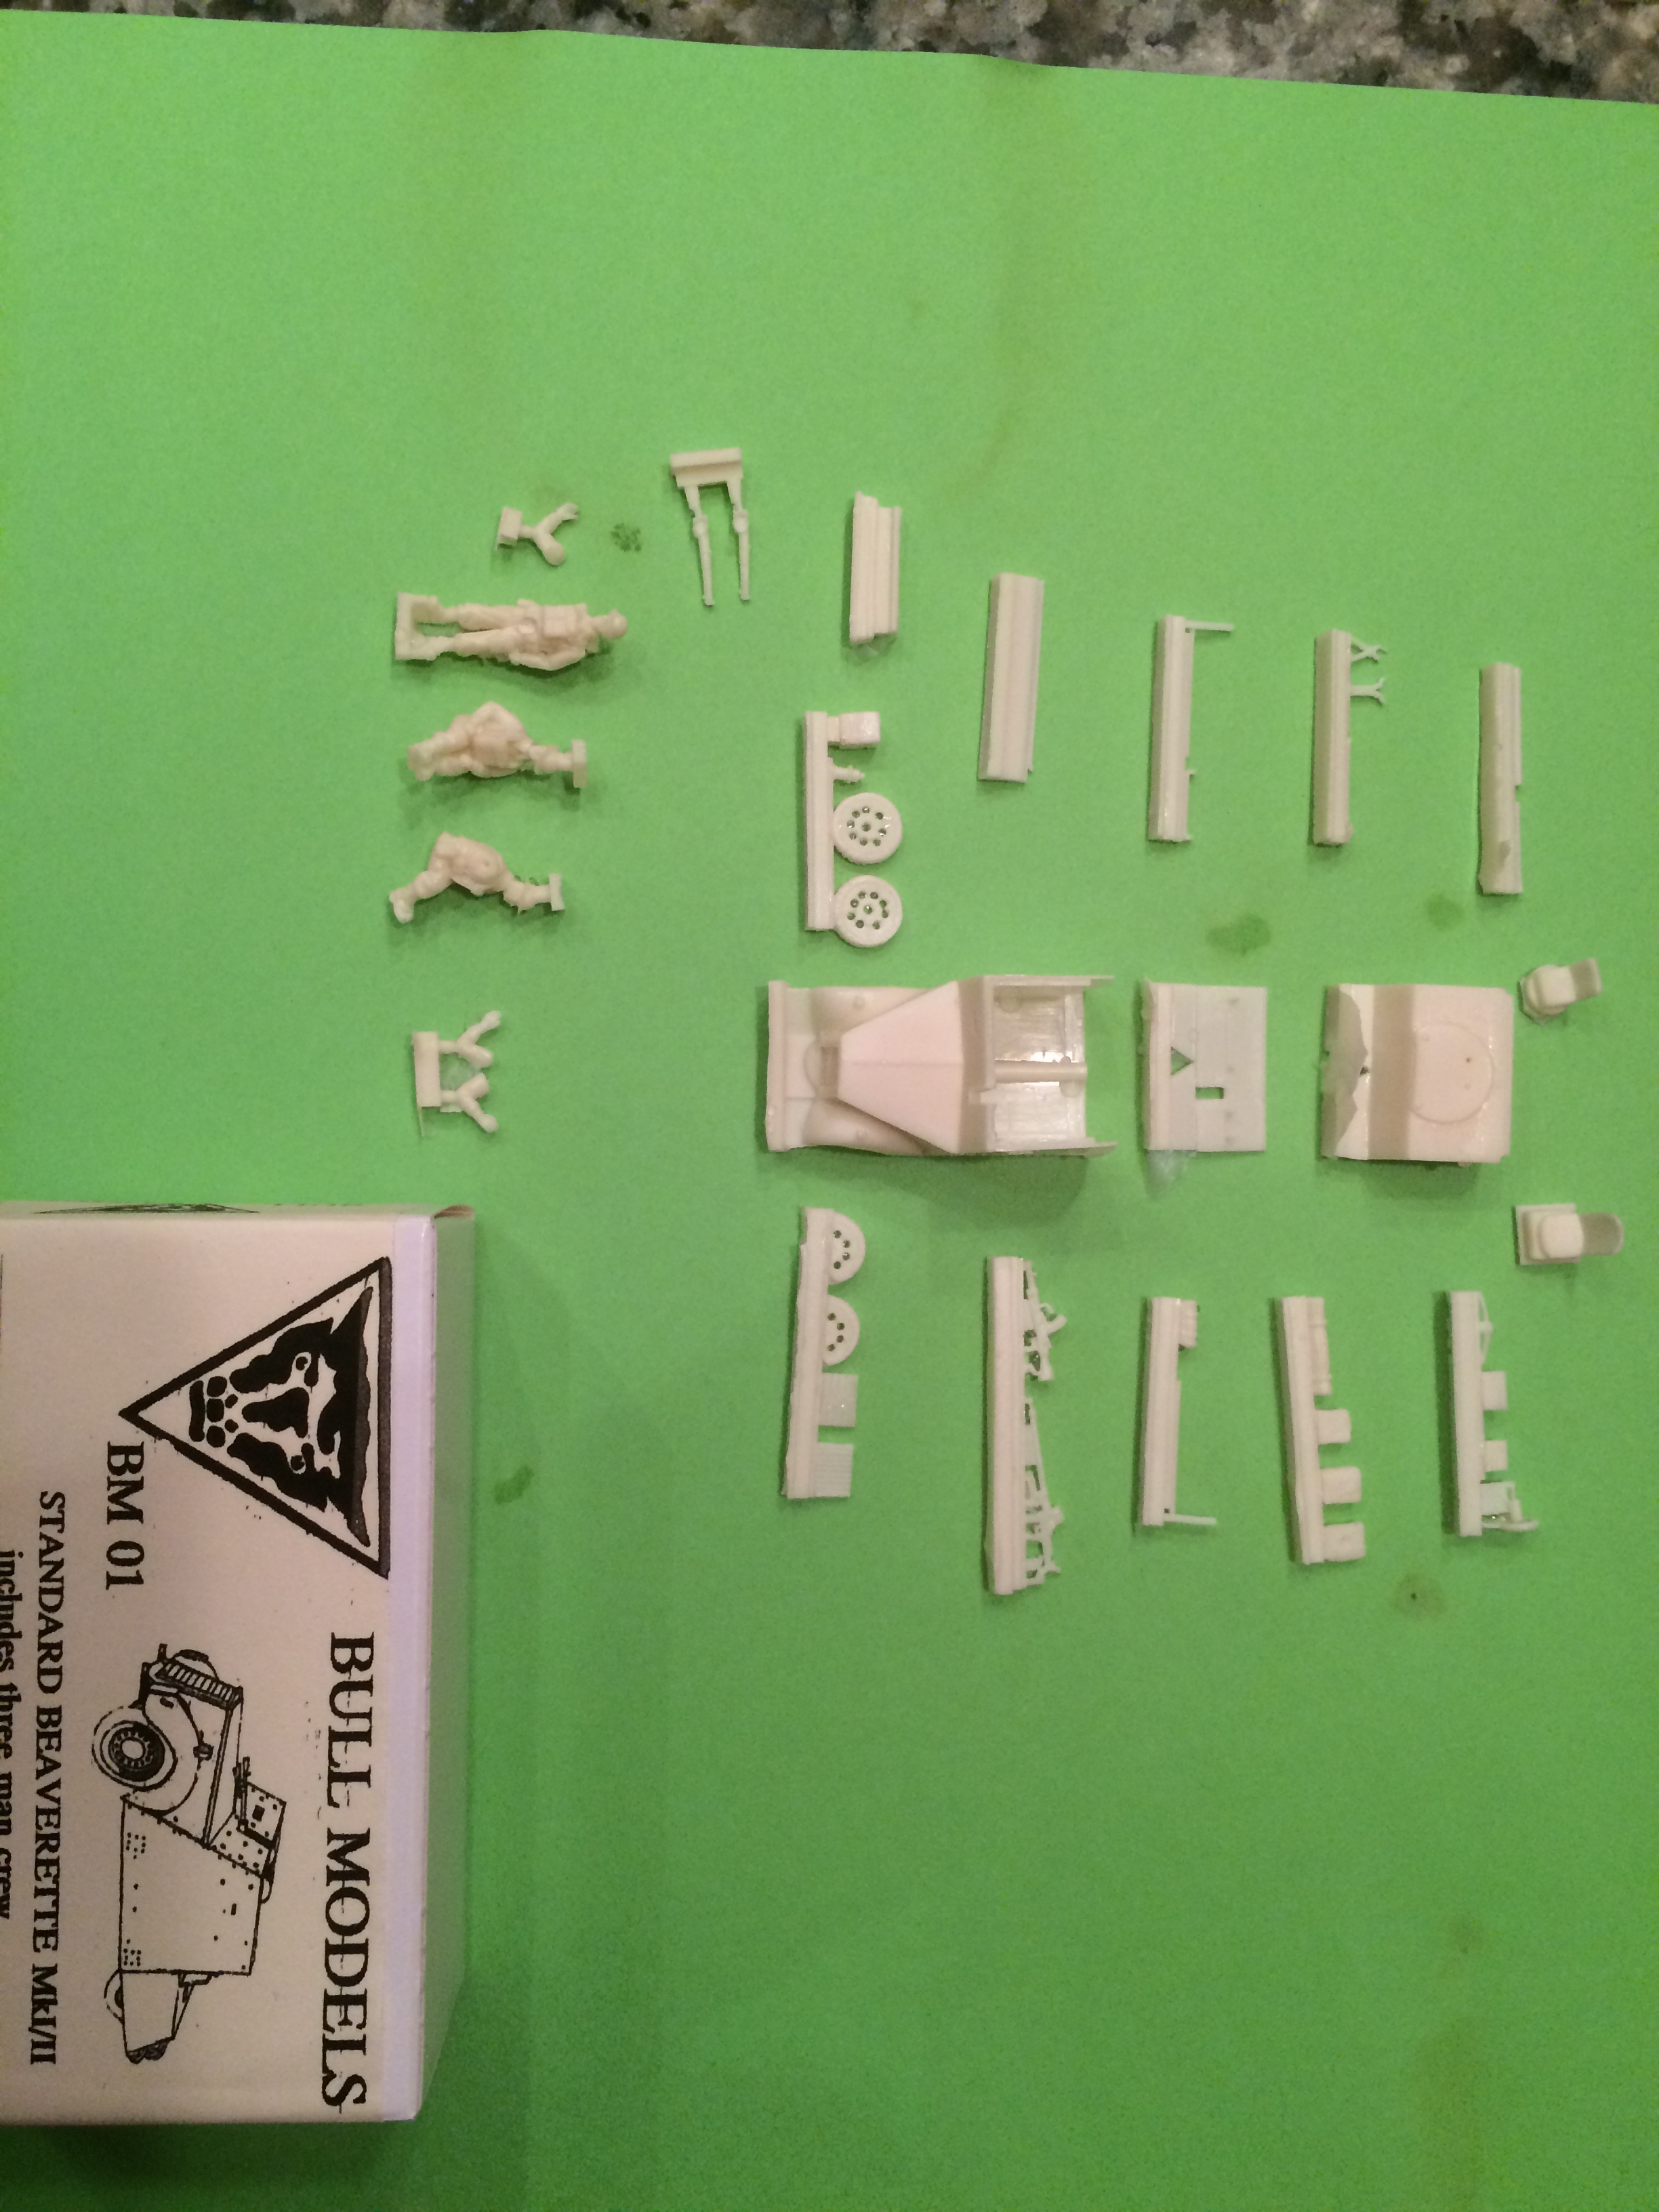
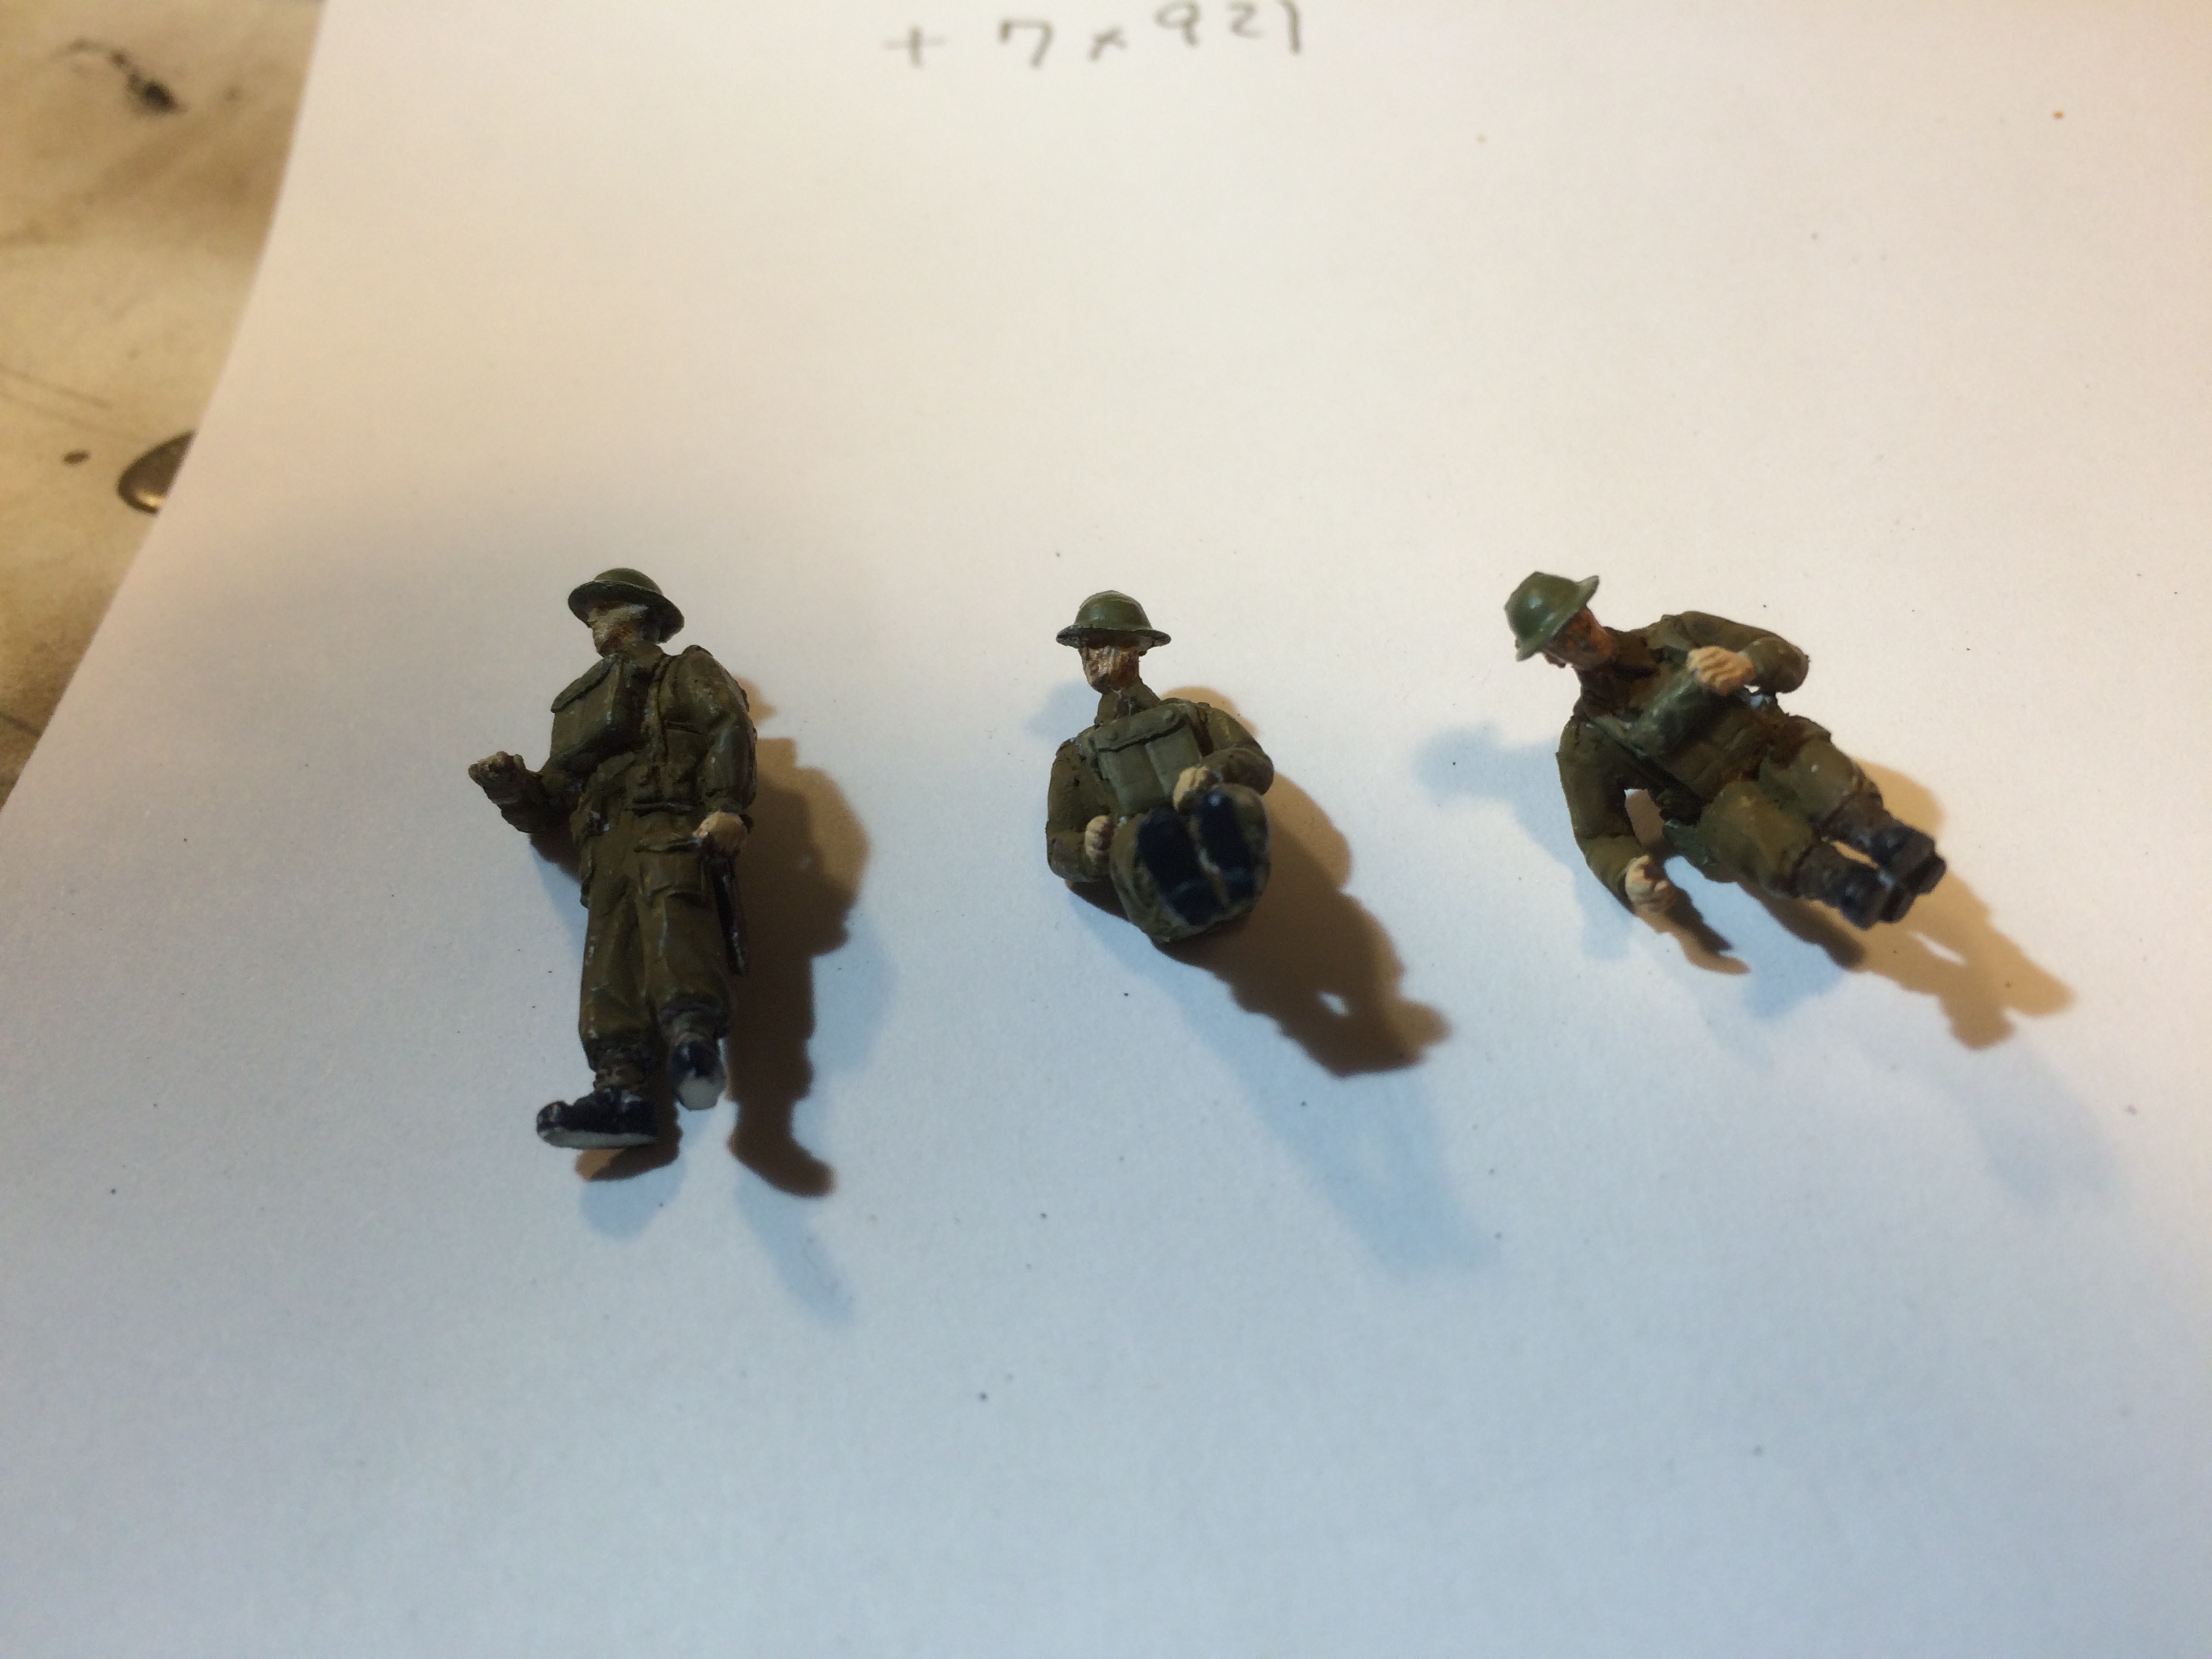
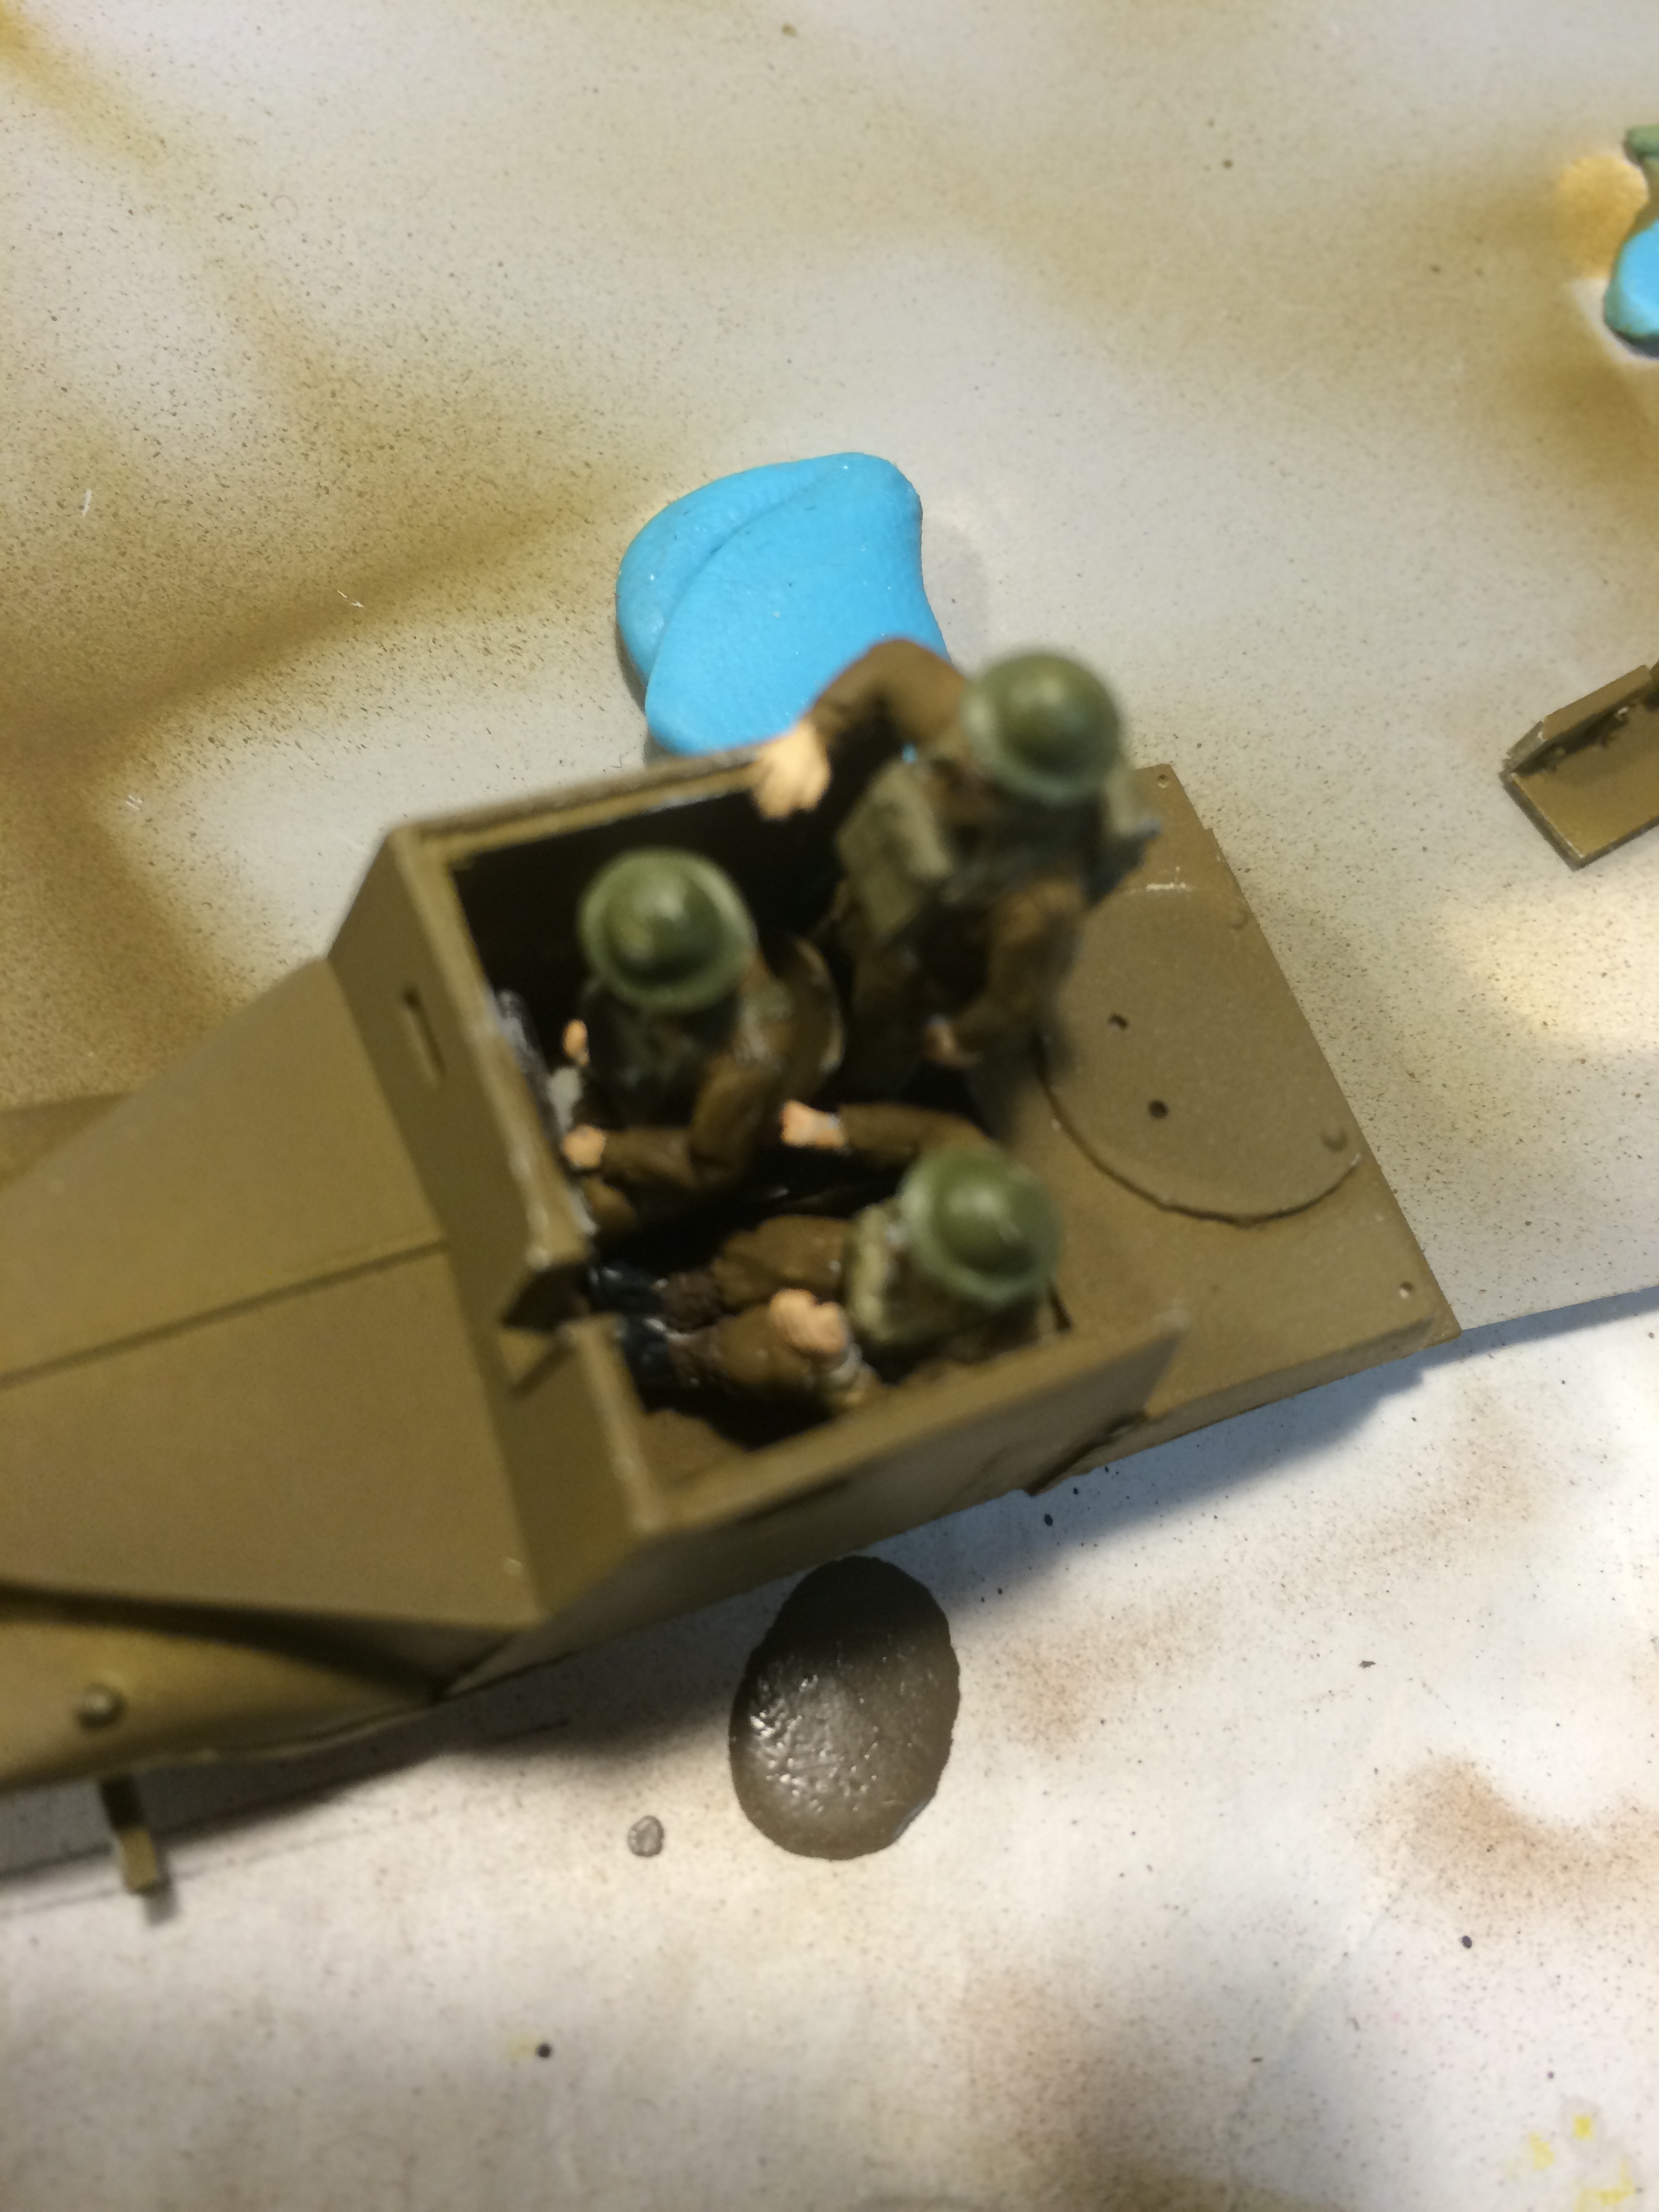
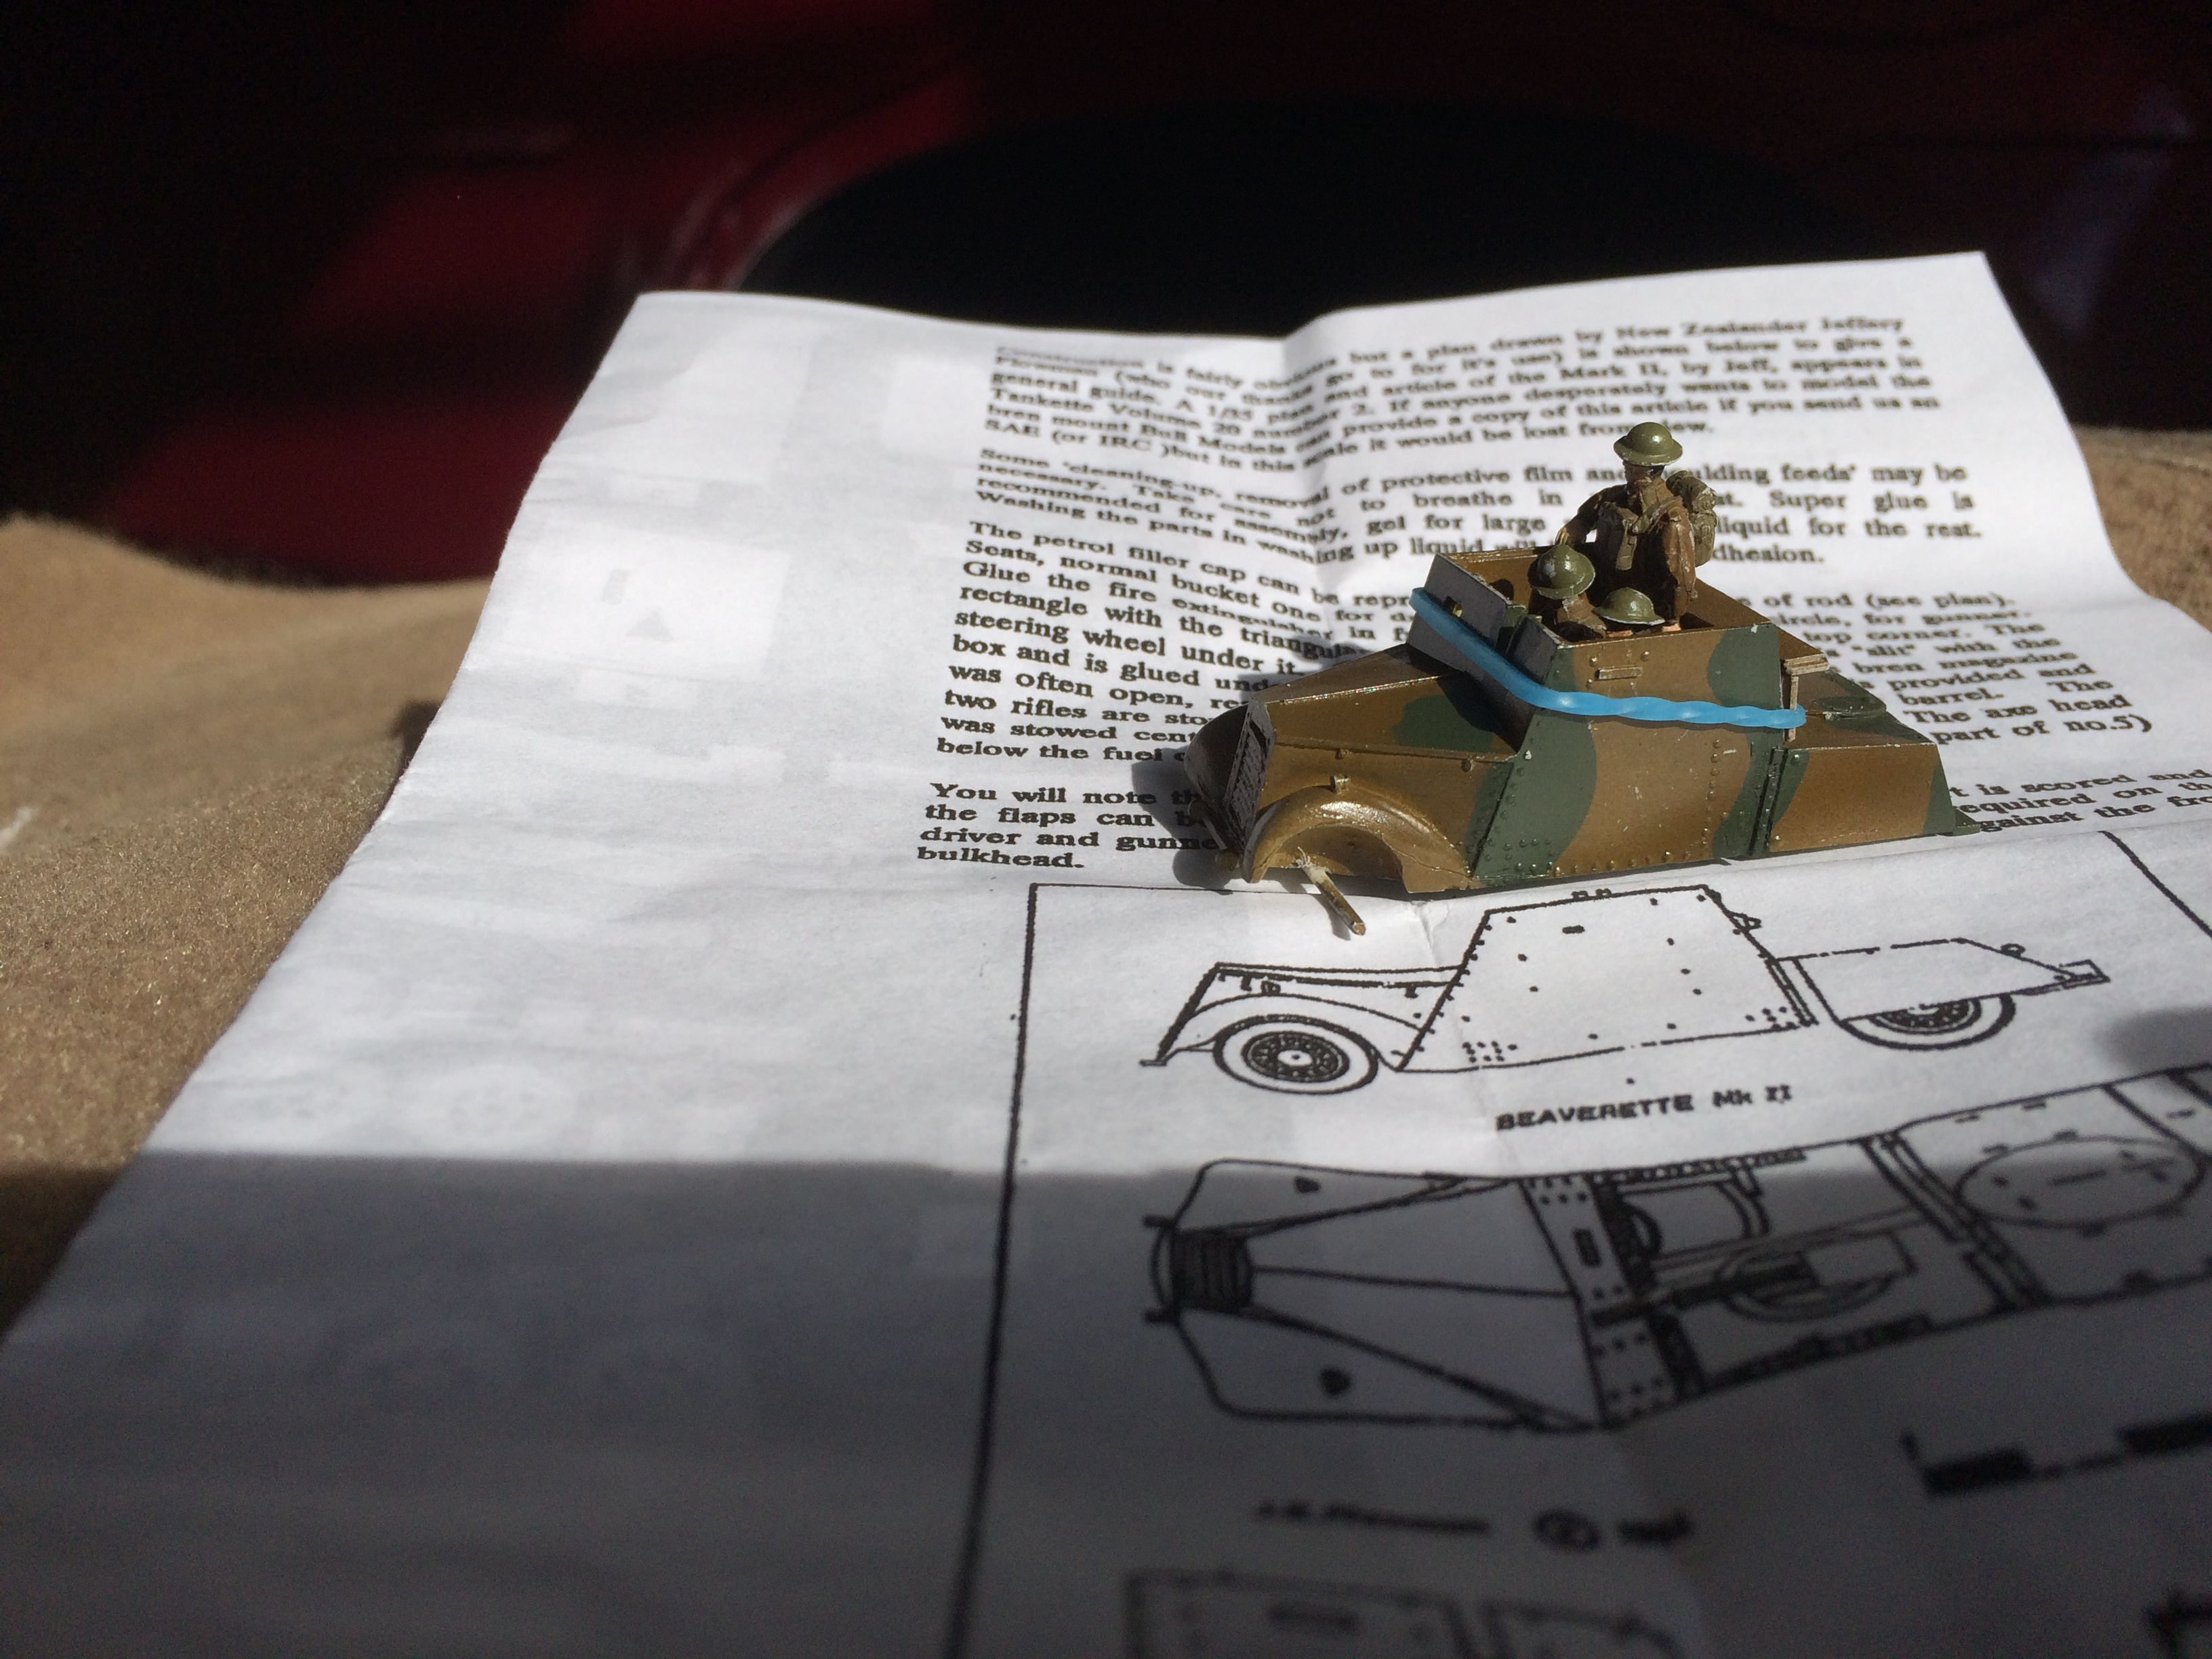
  • Bull Models Beaverette Mk I/II – comes with three figures (resin)
  • Dan Taylor Modelworks AFPU (Army Film Photographic Unit)

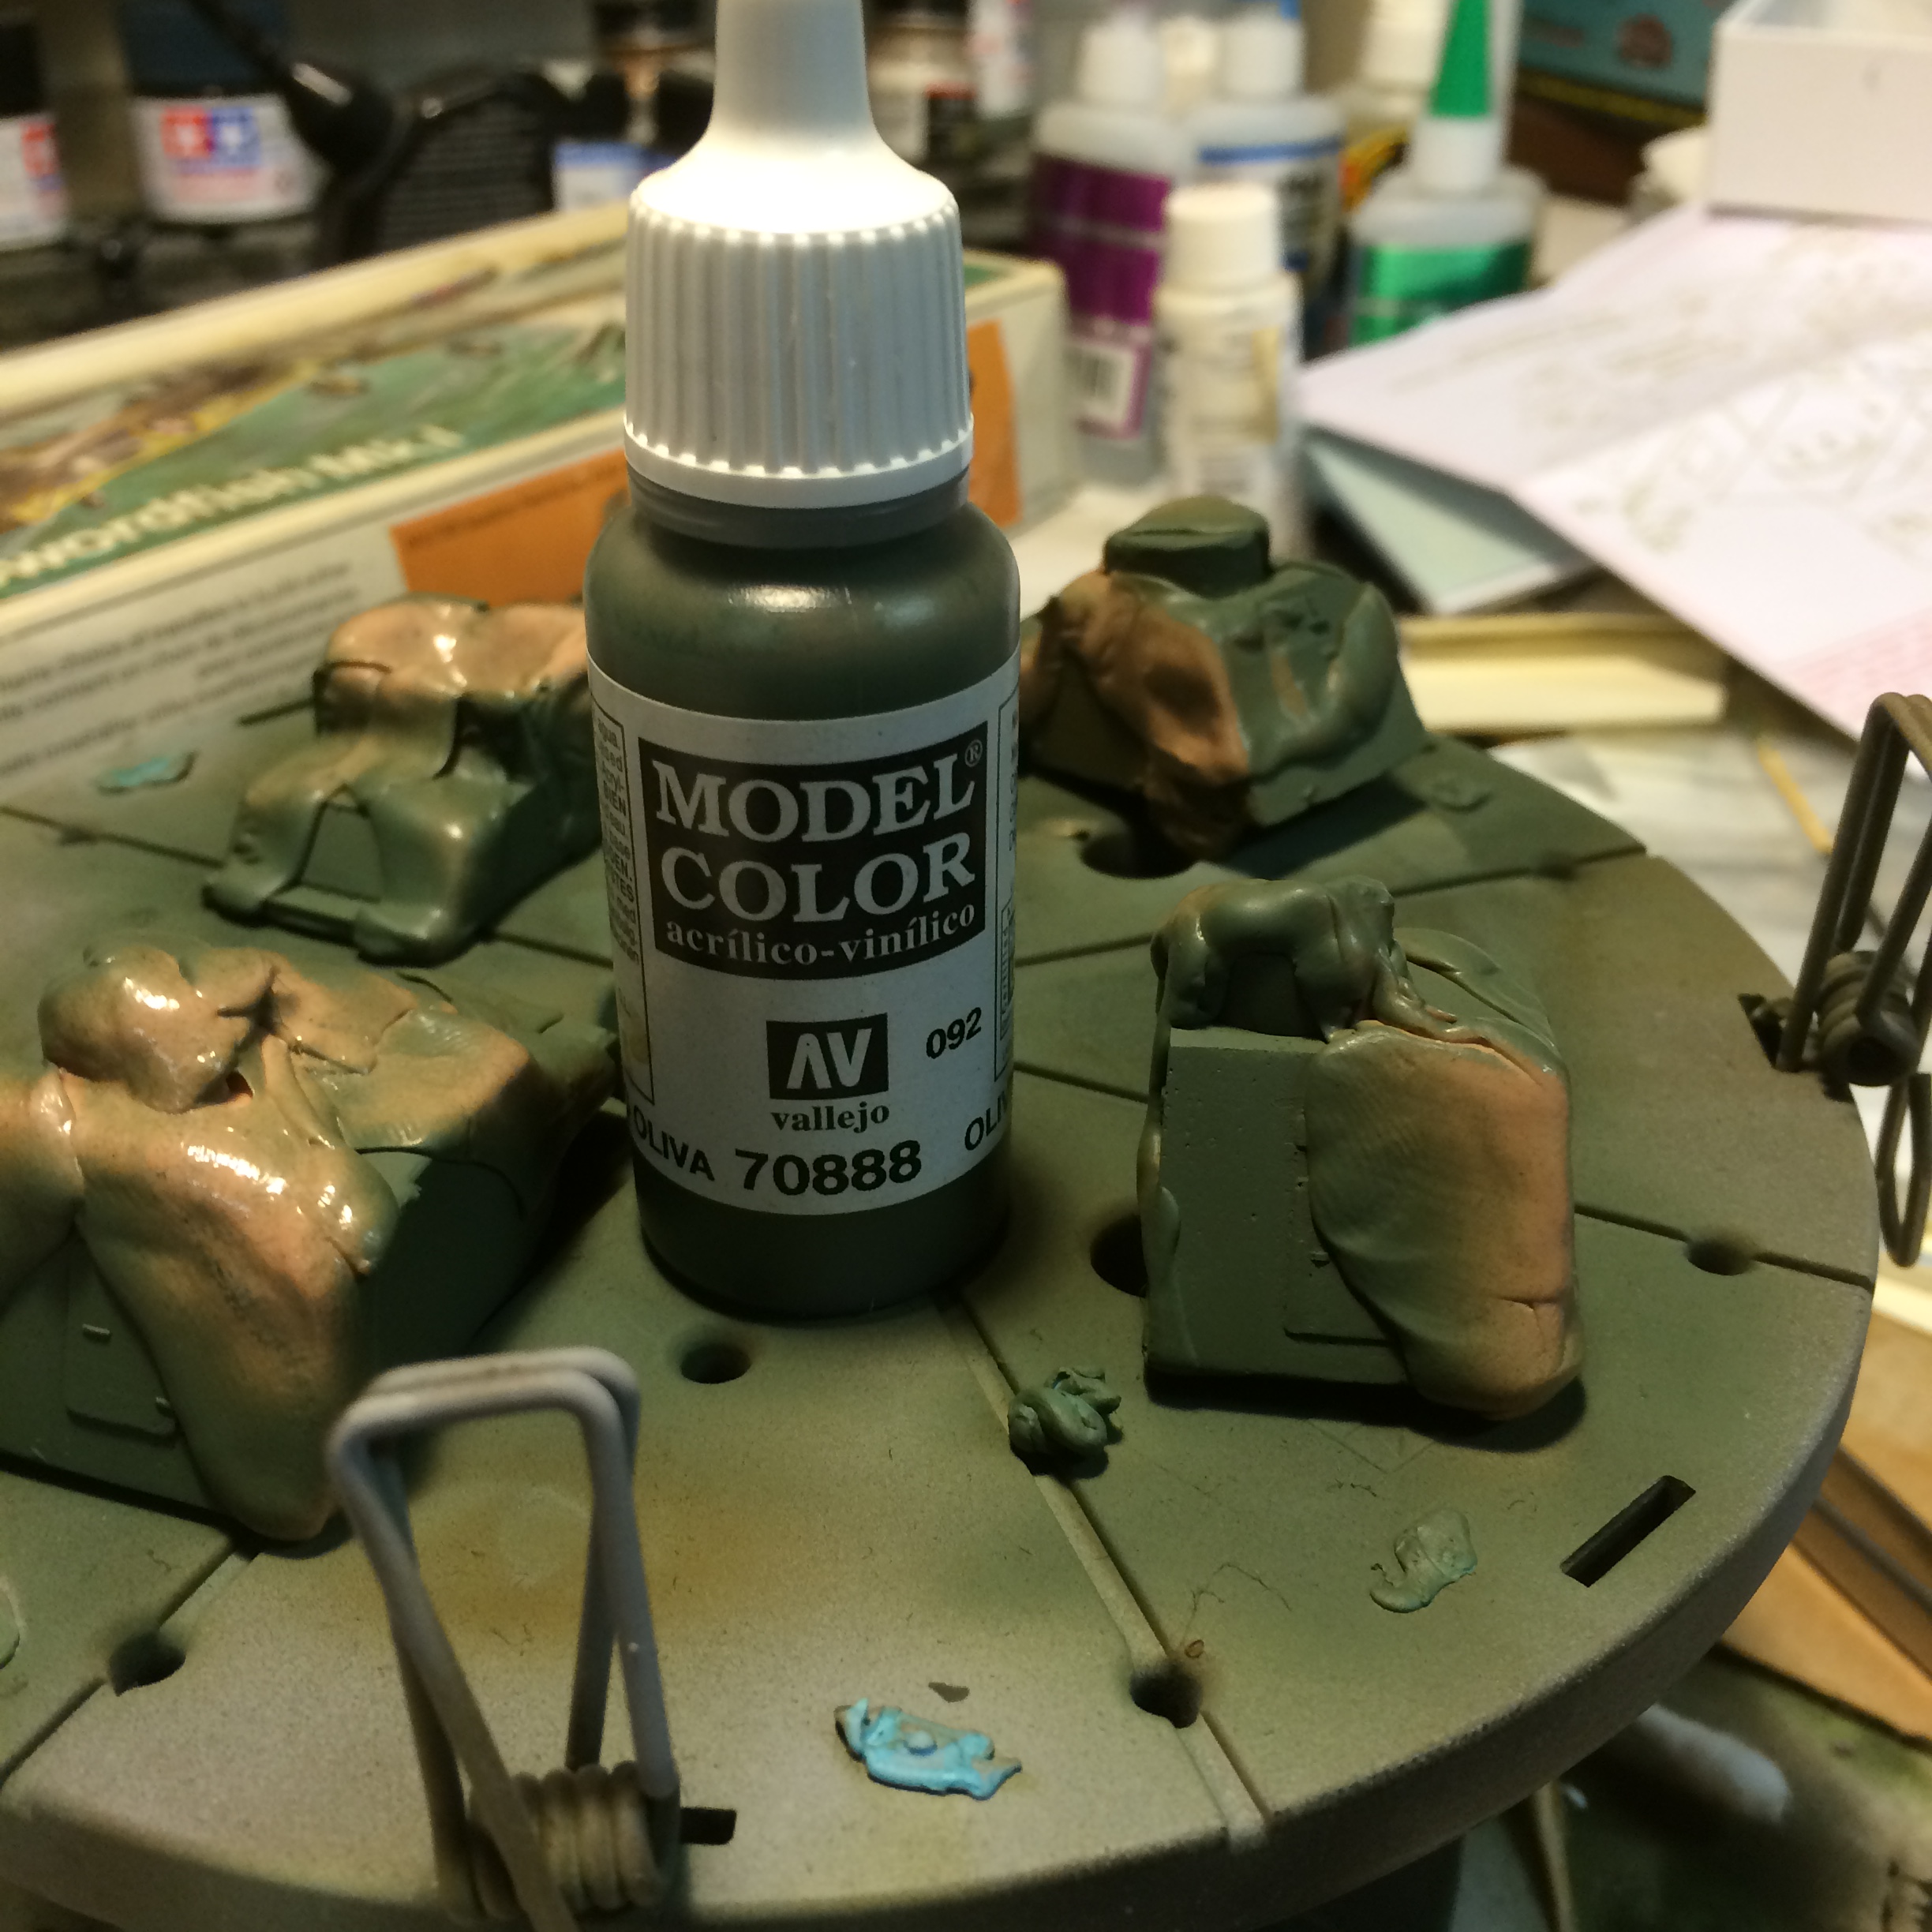
All the figures were brush-painted with a variety of Vallejo Model Air acrylic paints. The resin flesh was painted with blended Model Master enamels but I stuck to simple Vallejo flesh color for the Airfix figures. It was sort of fun painting suits and overcoats for the civilians, not to mention the neckties as I didn’t really have to resort to references here.  And, I gave all the civilians different colored suits in a protest move over soldier uniforms. Needless to say, the resin figures are much more detailed in their casting than the Airfix civilians.

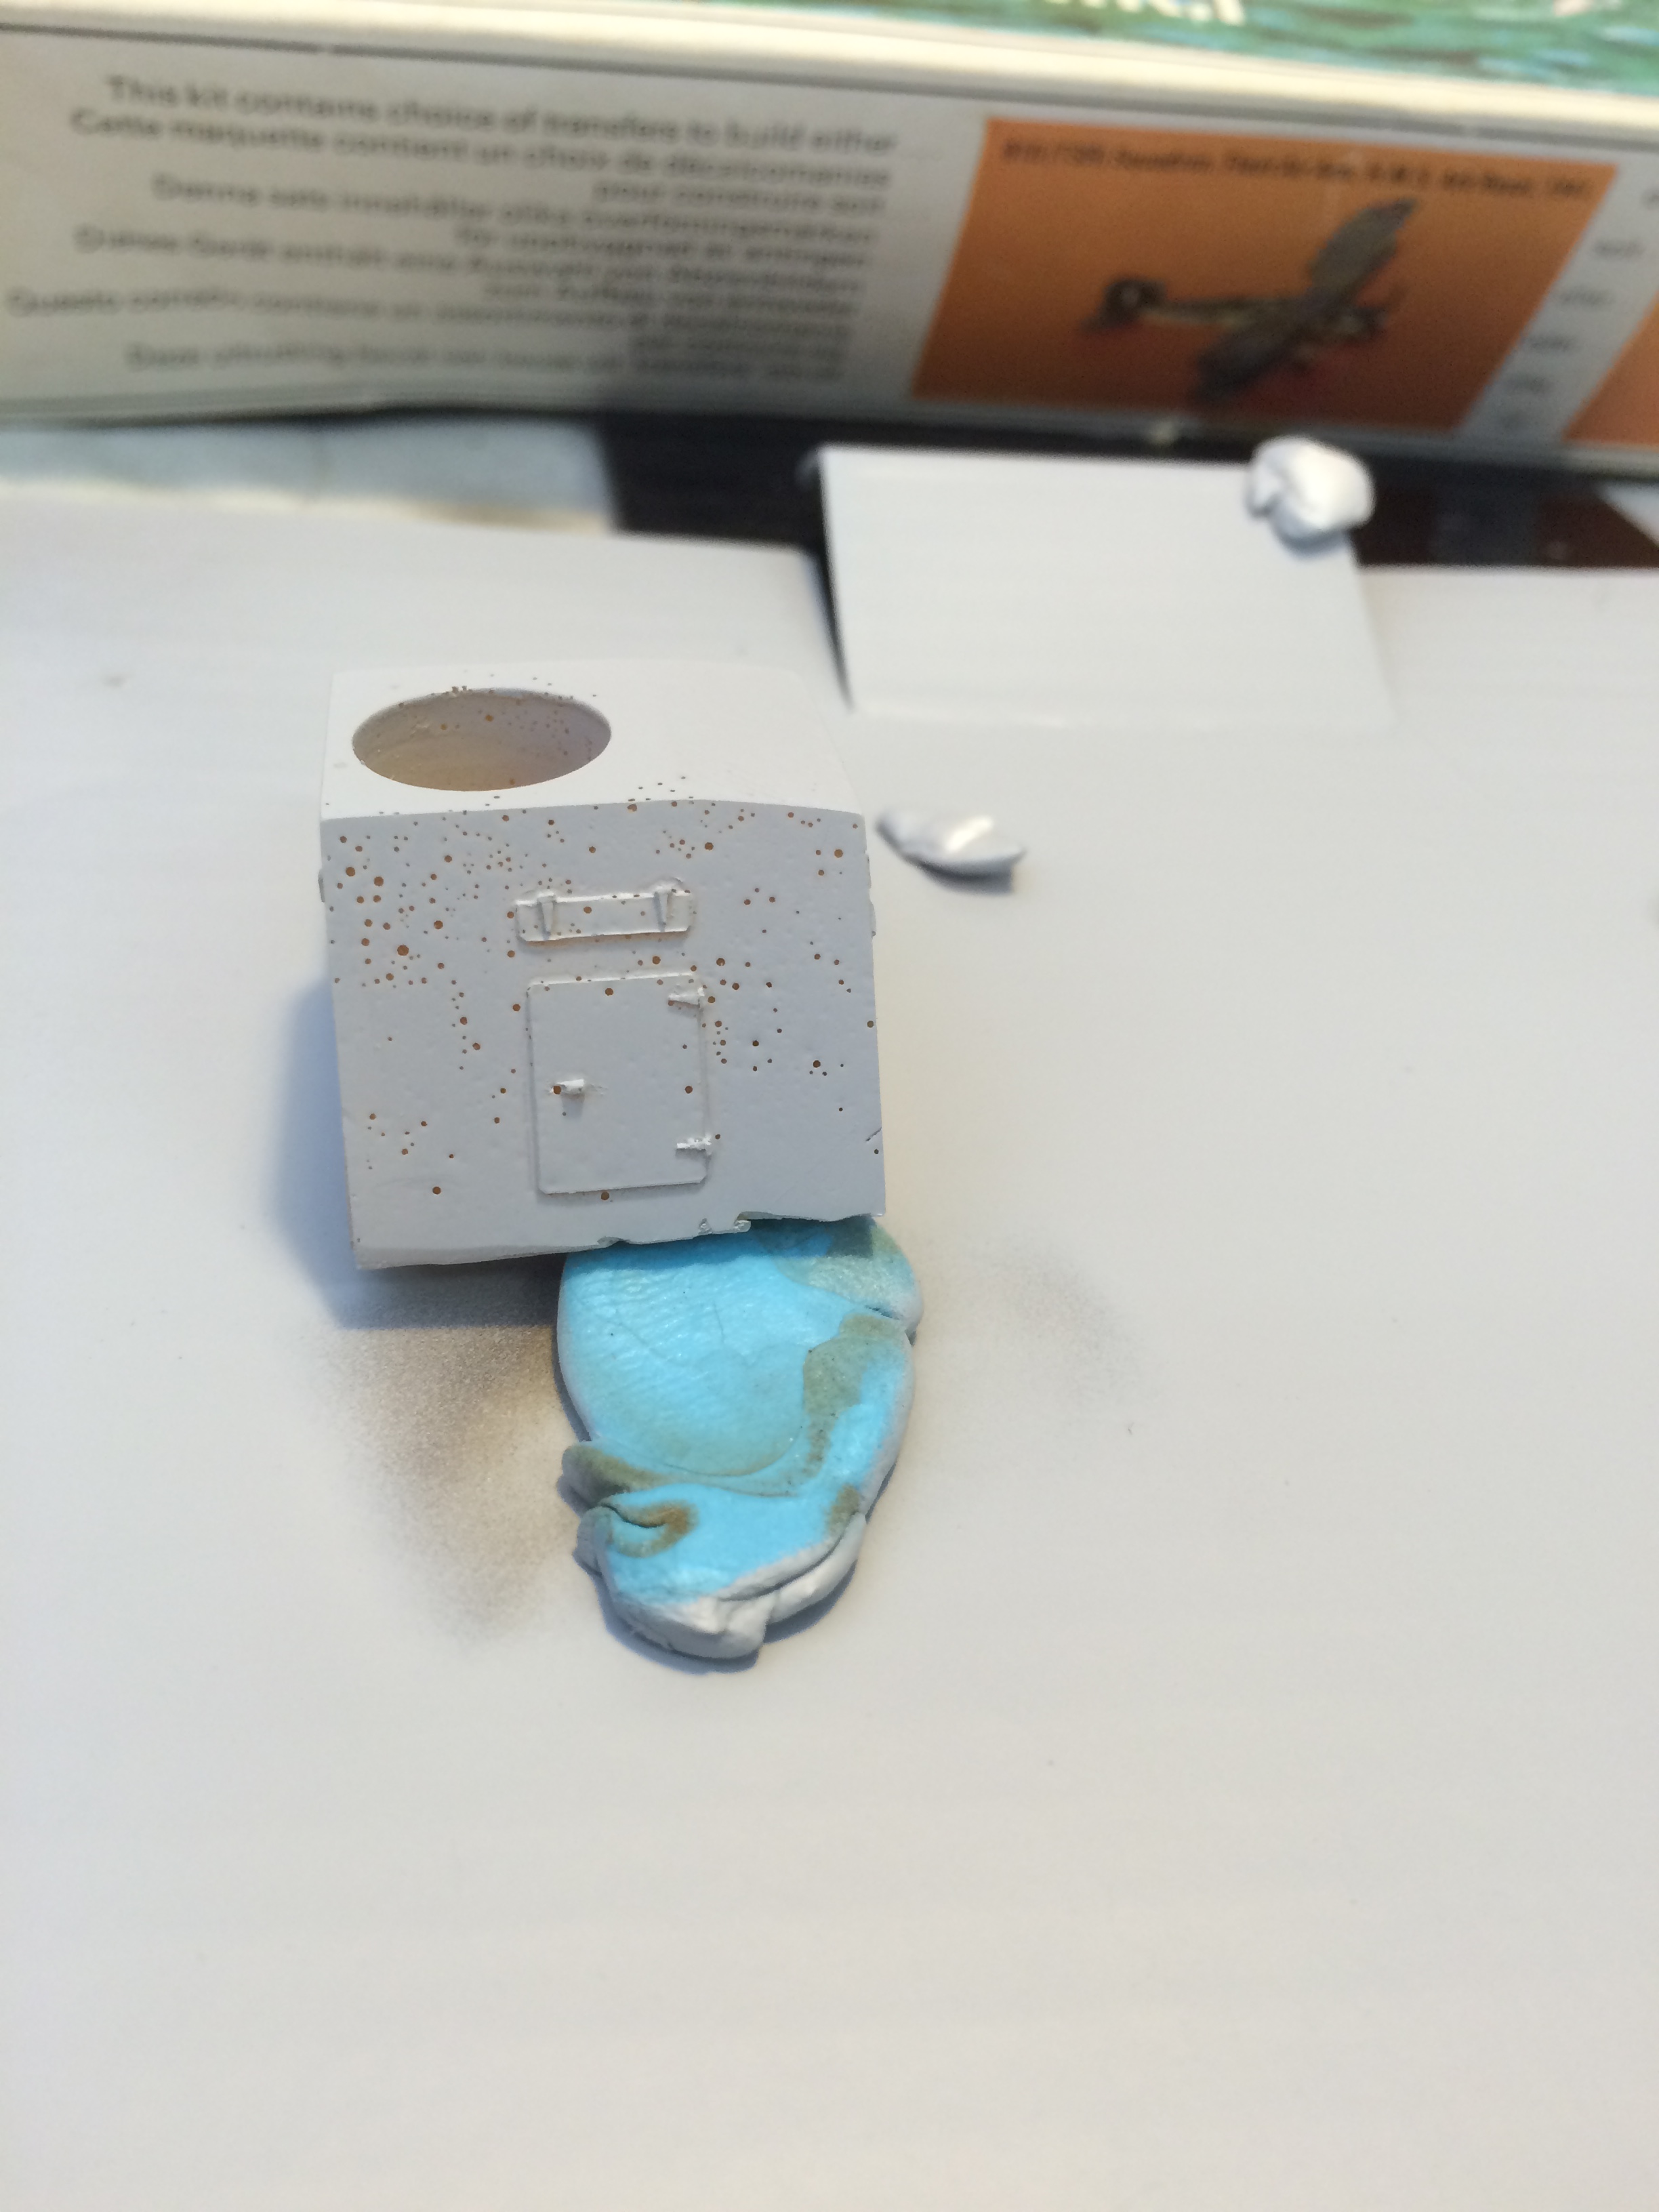
The diorama base was an inexpensive picture frame with mattboard for the concrete. I scribed expansion joints and filled with thick black acrylic.  The surface color was a mix of Floquil acrylics that were intended to look like weathered concrete. A few cracks were scribed out.

I added some green verge using Plaster of Paris, some tiny gravel from our garden, foam for shrubs, and a two color mix of static grass.  For grins, I added two Dart Castings rabbits munching on vegetation (these aren’t the greatest castings as it is hard to tell they are rabbits. Dart does do a great set of cows though for some future project).Rabbits (in focus) (needs cropping)

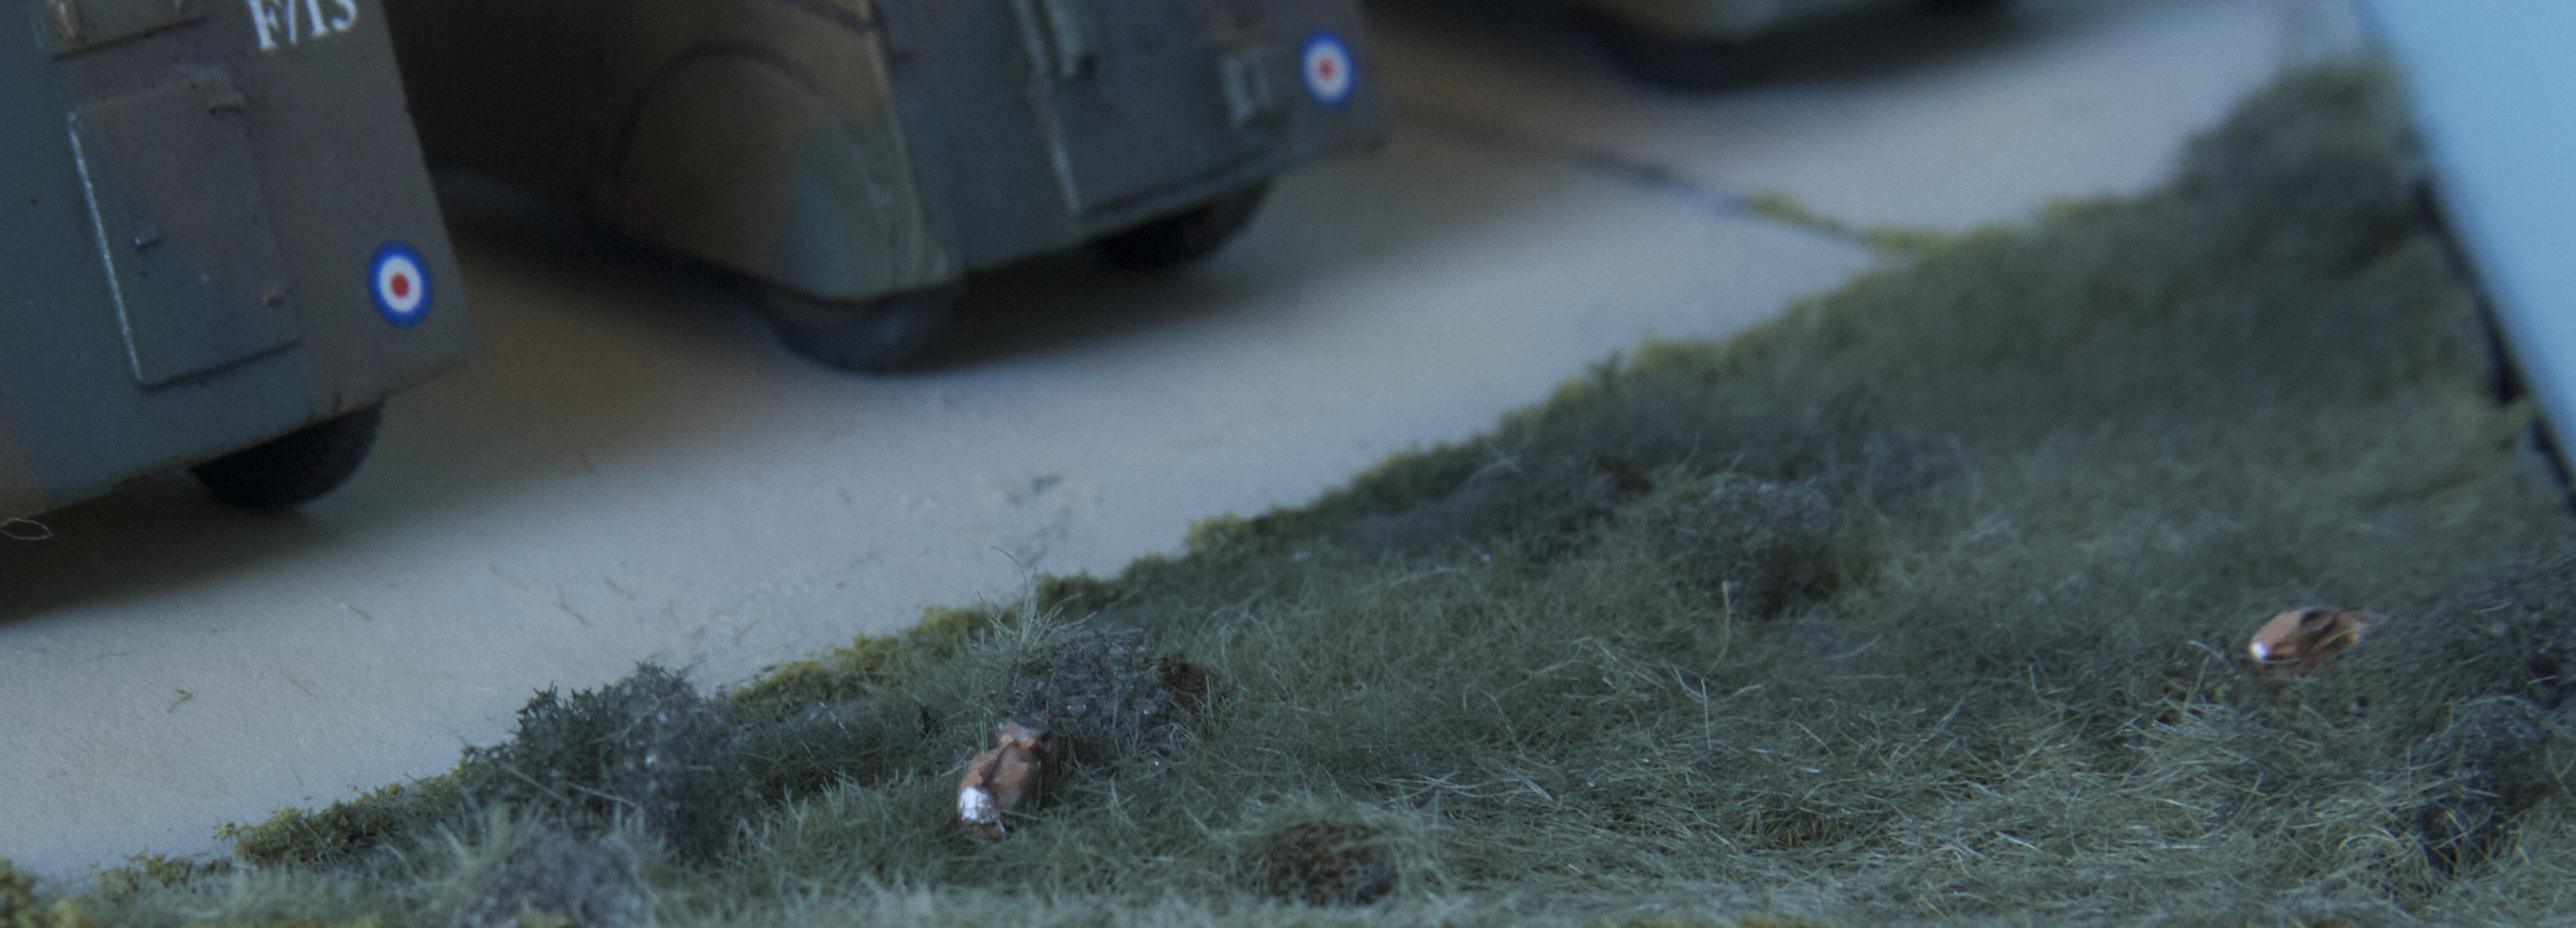
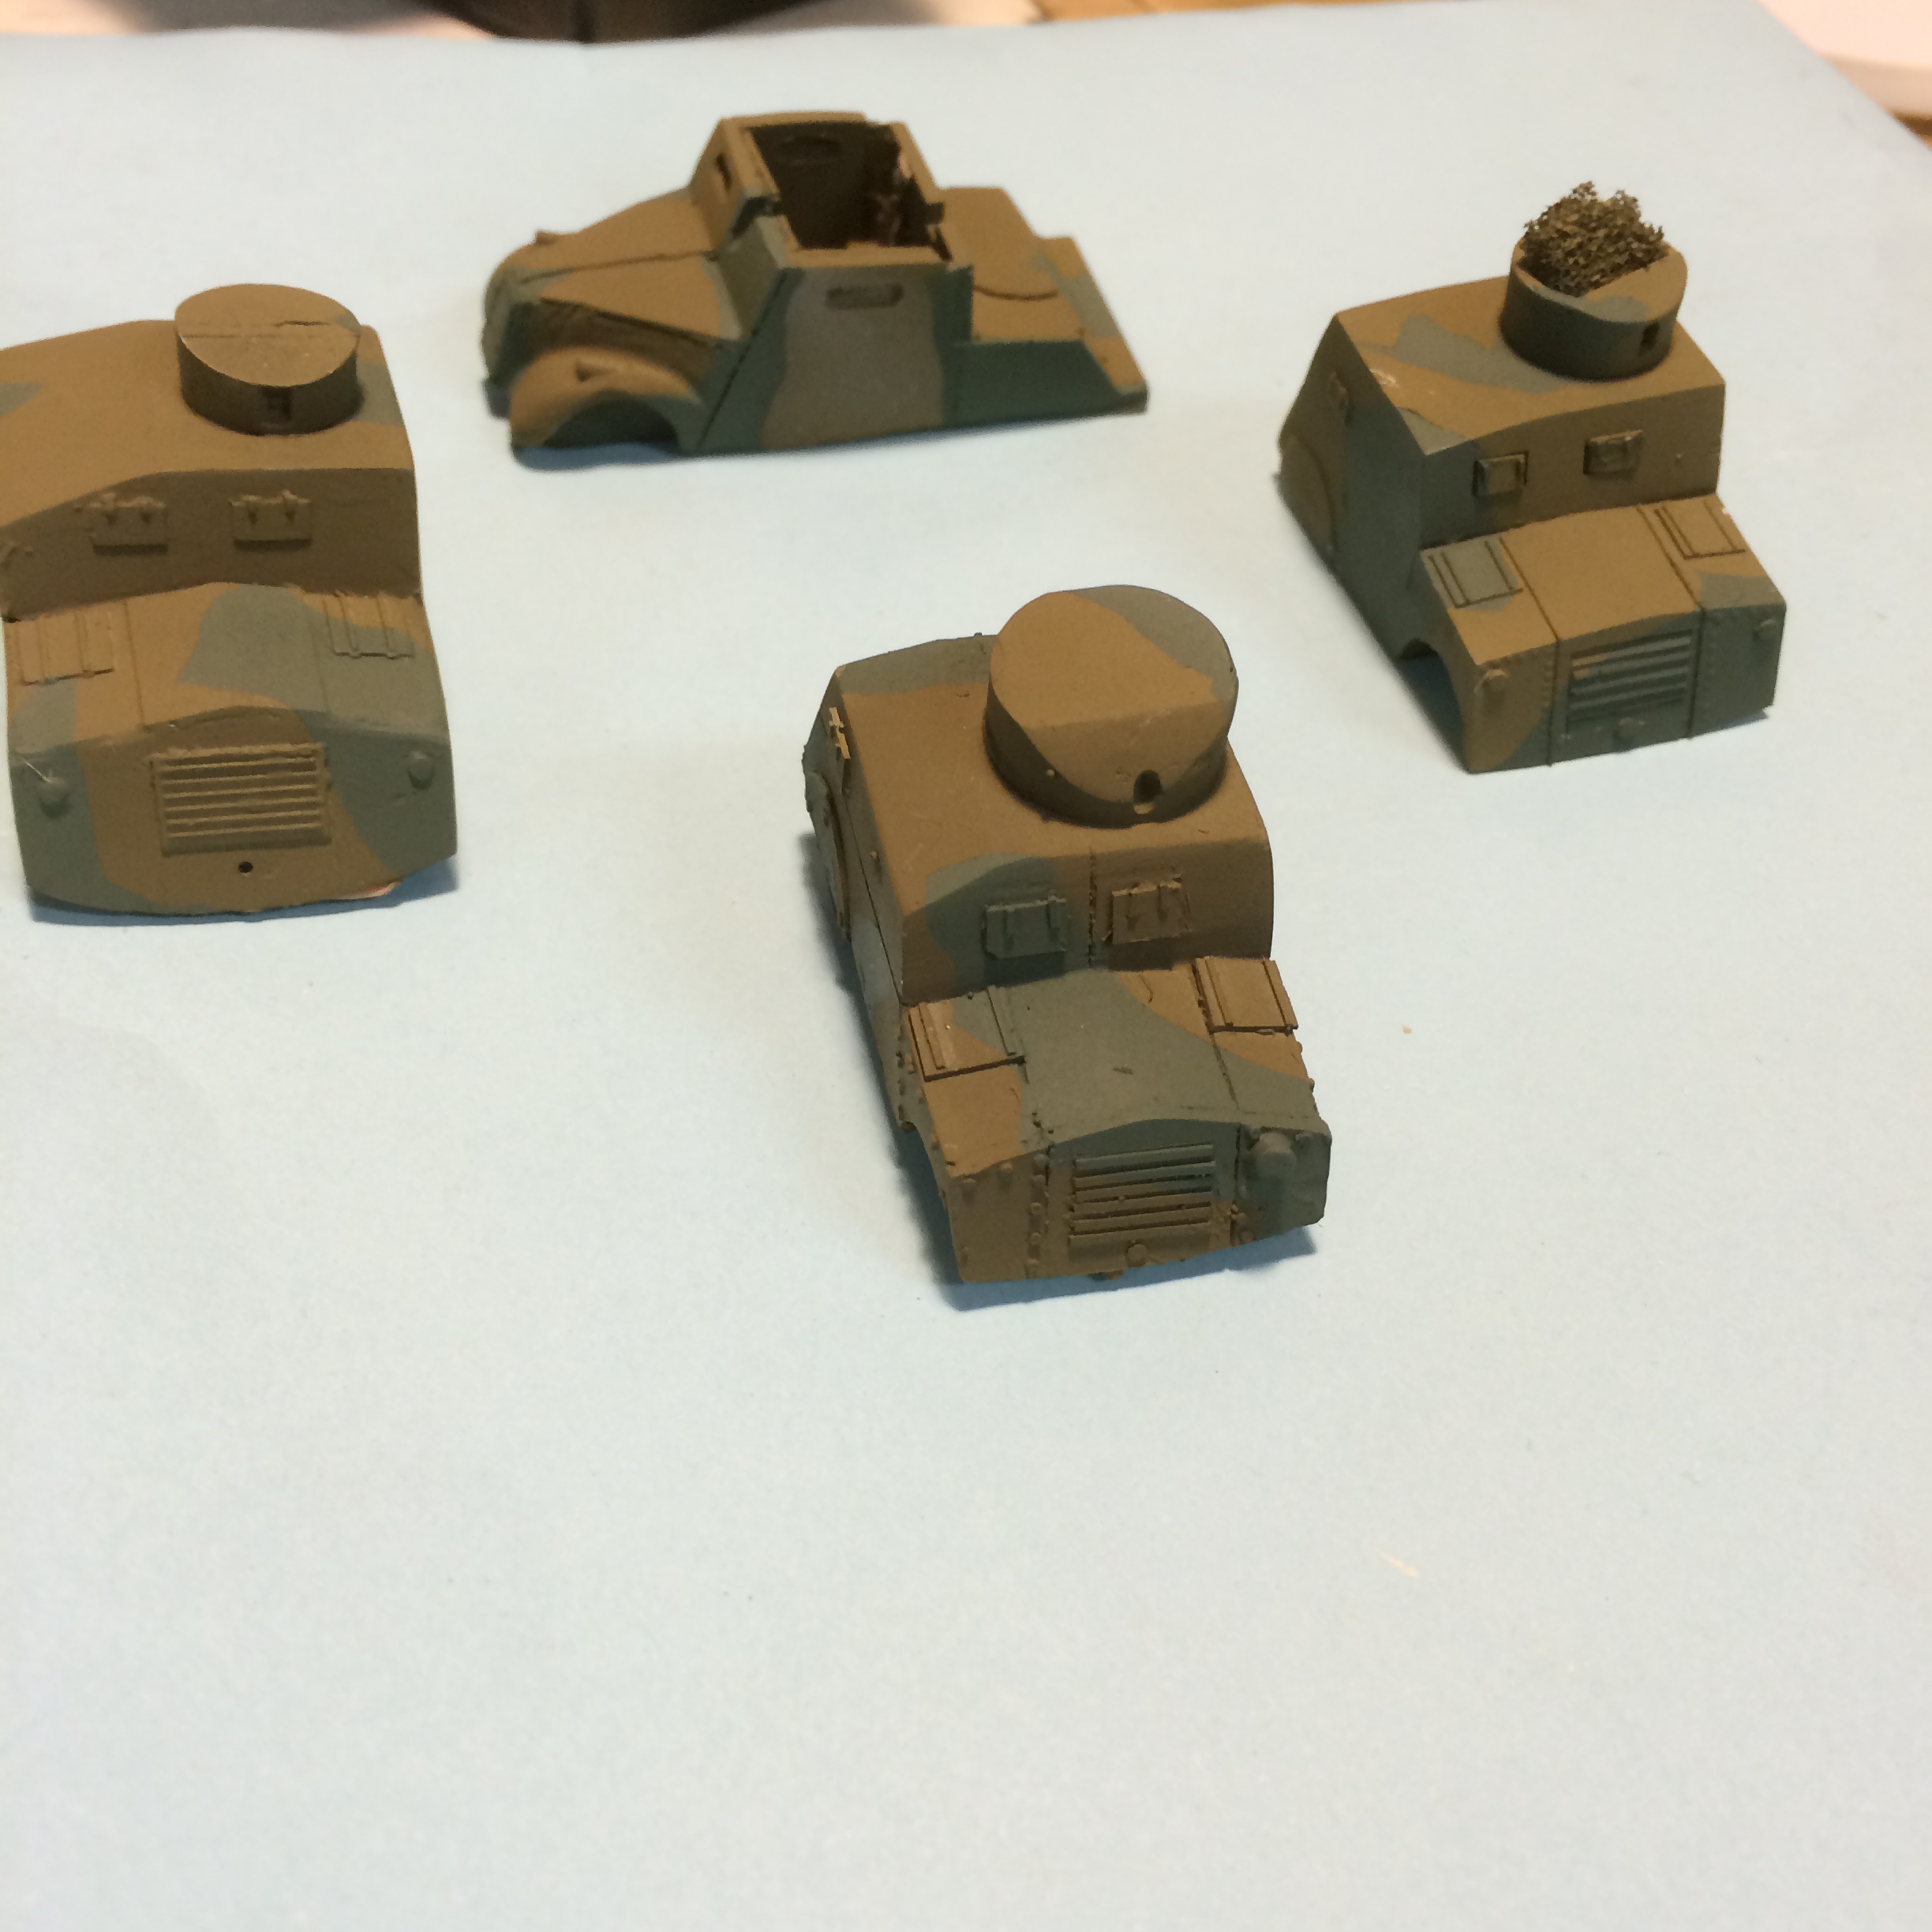
And here we go (click on image to see in more detail):

Birdseye near left - needs modest cropping

Birdseye front (good)

Birdseye rear rights (good)

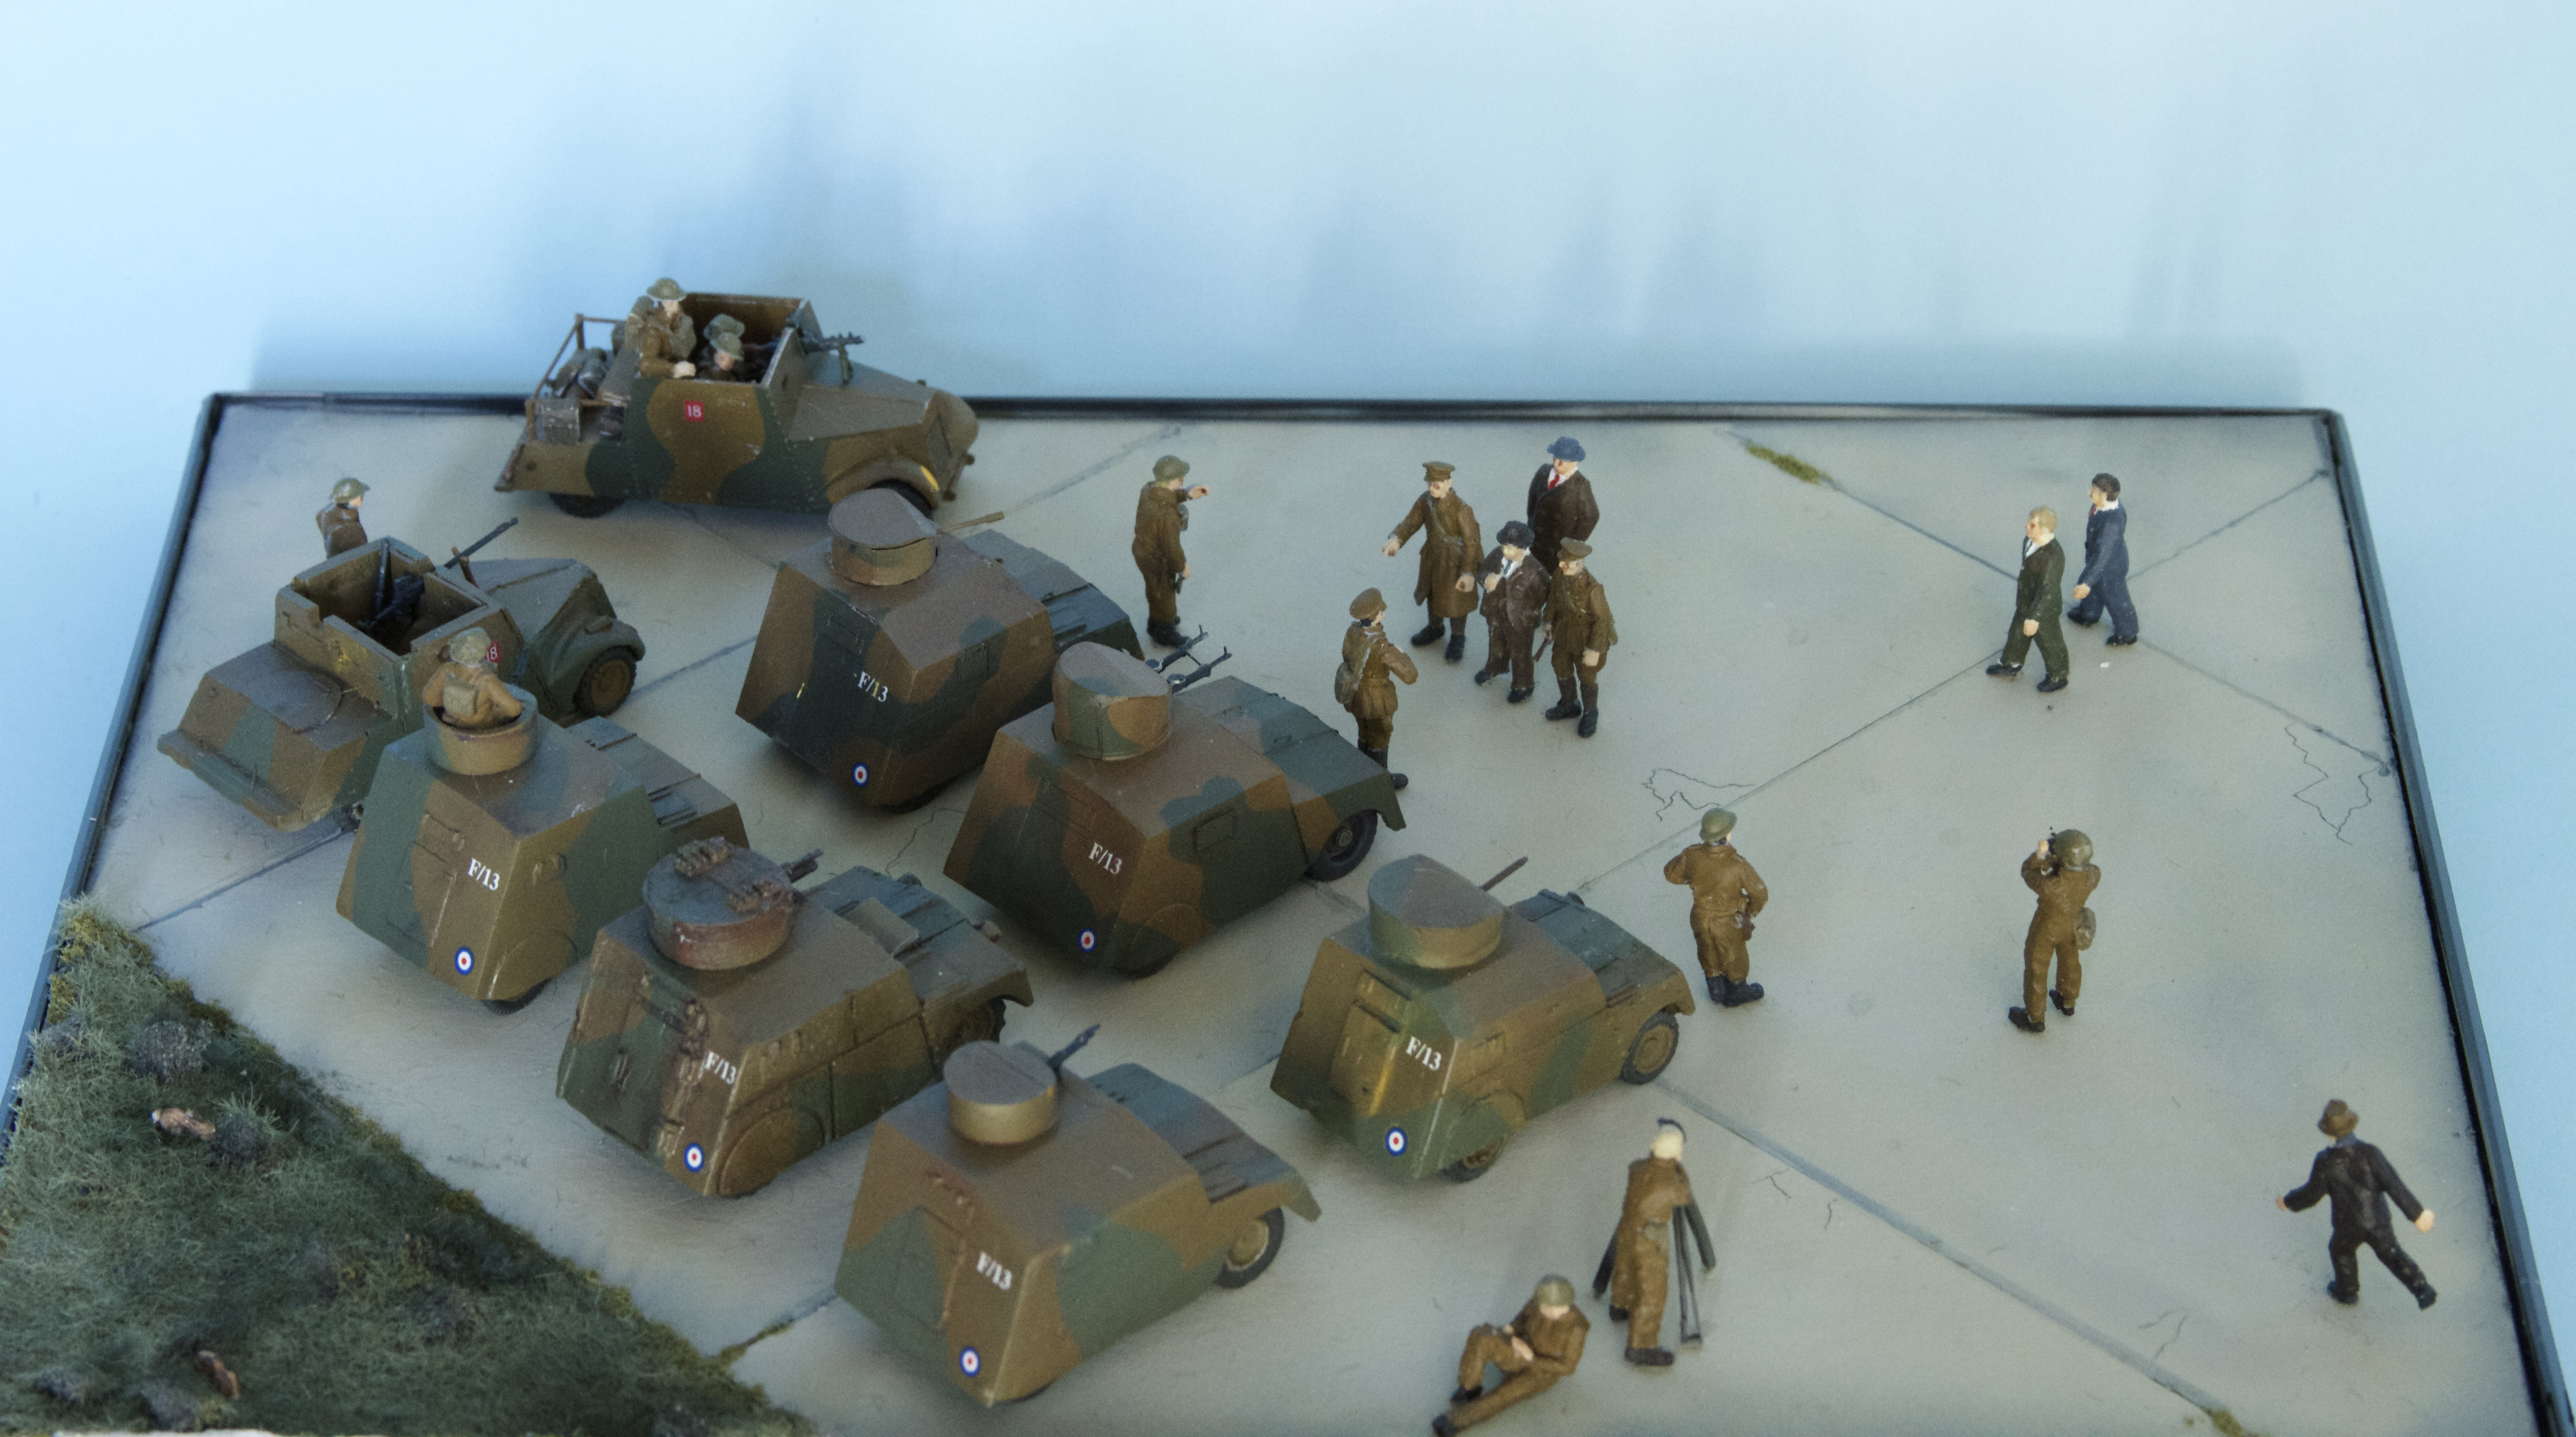
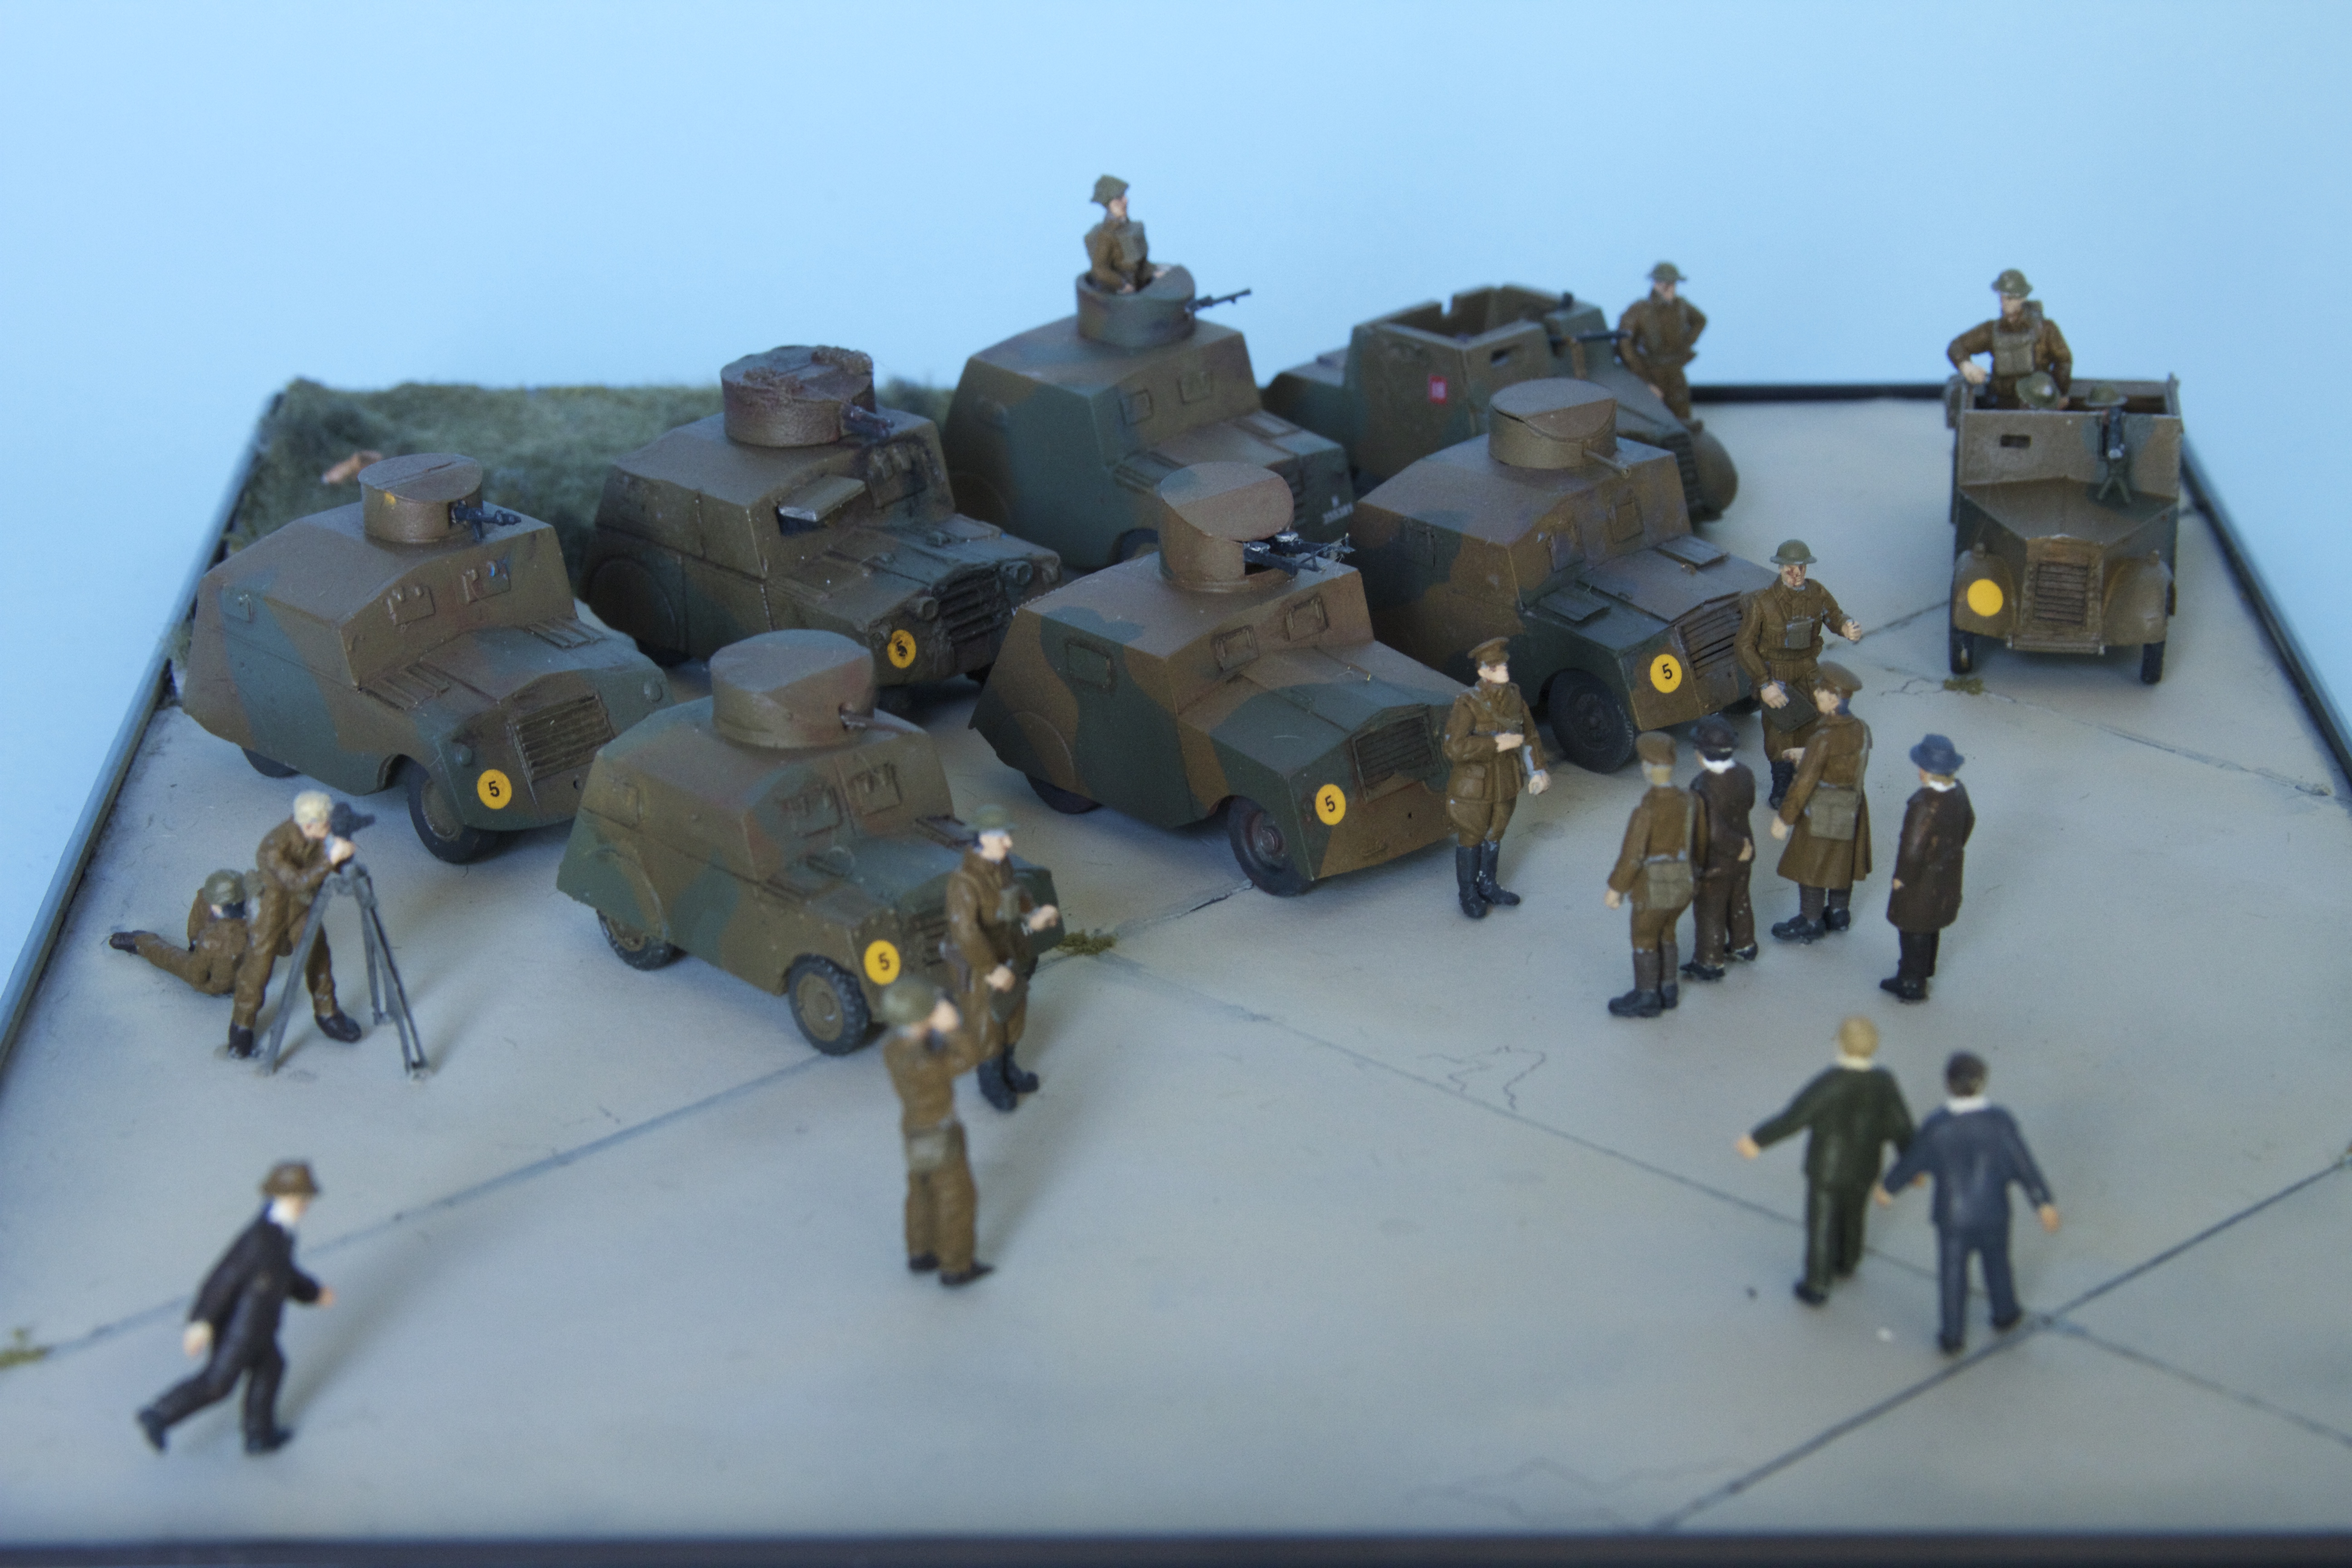
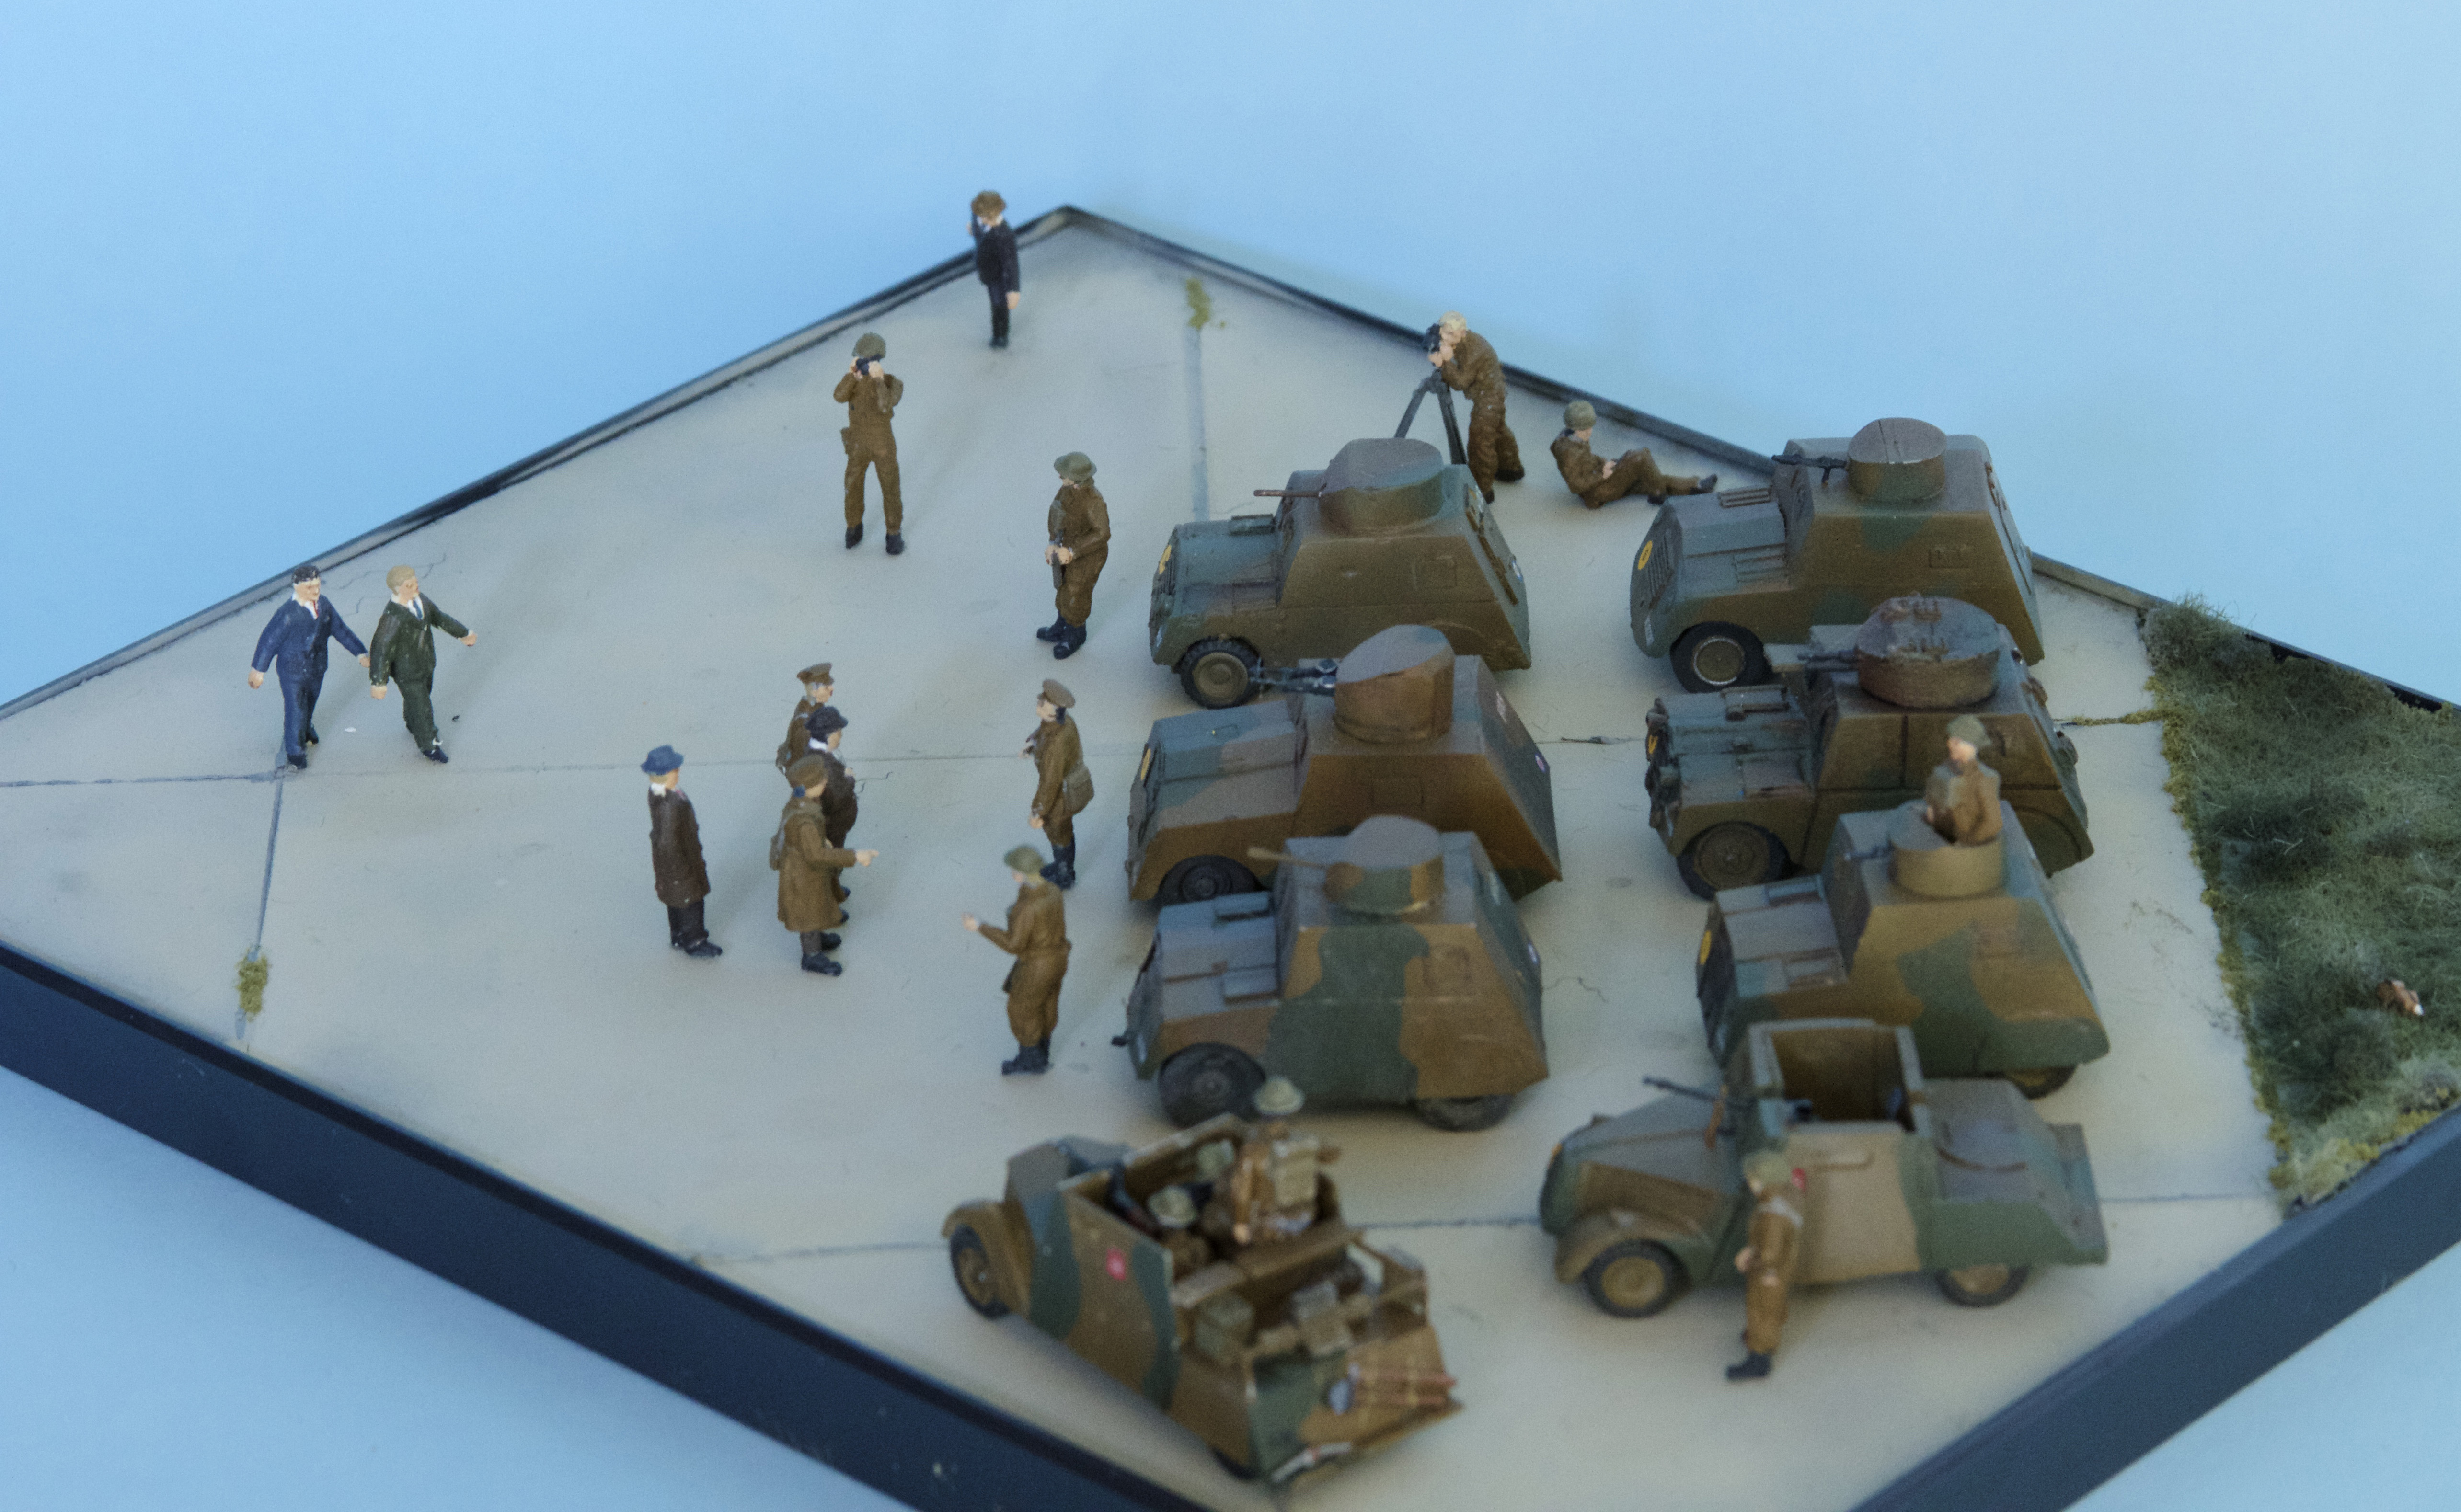
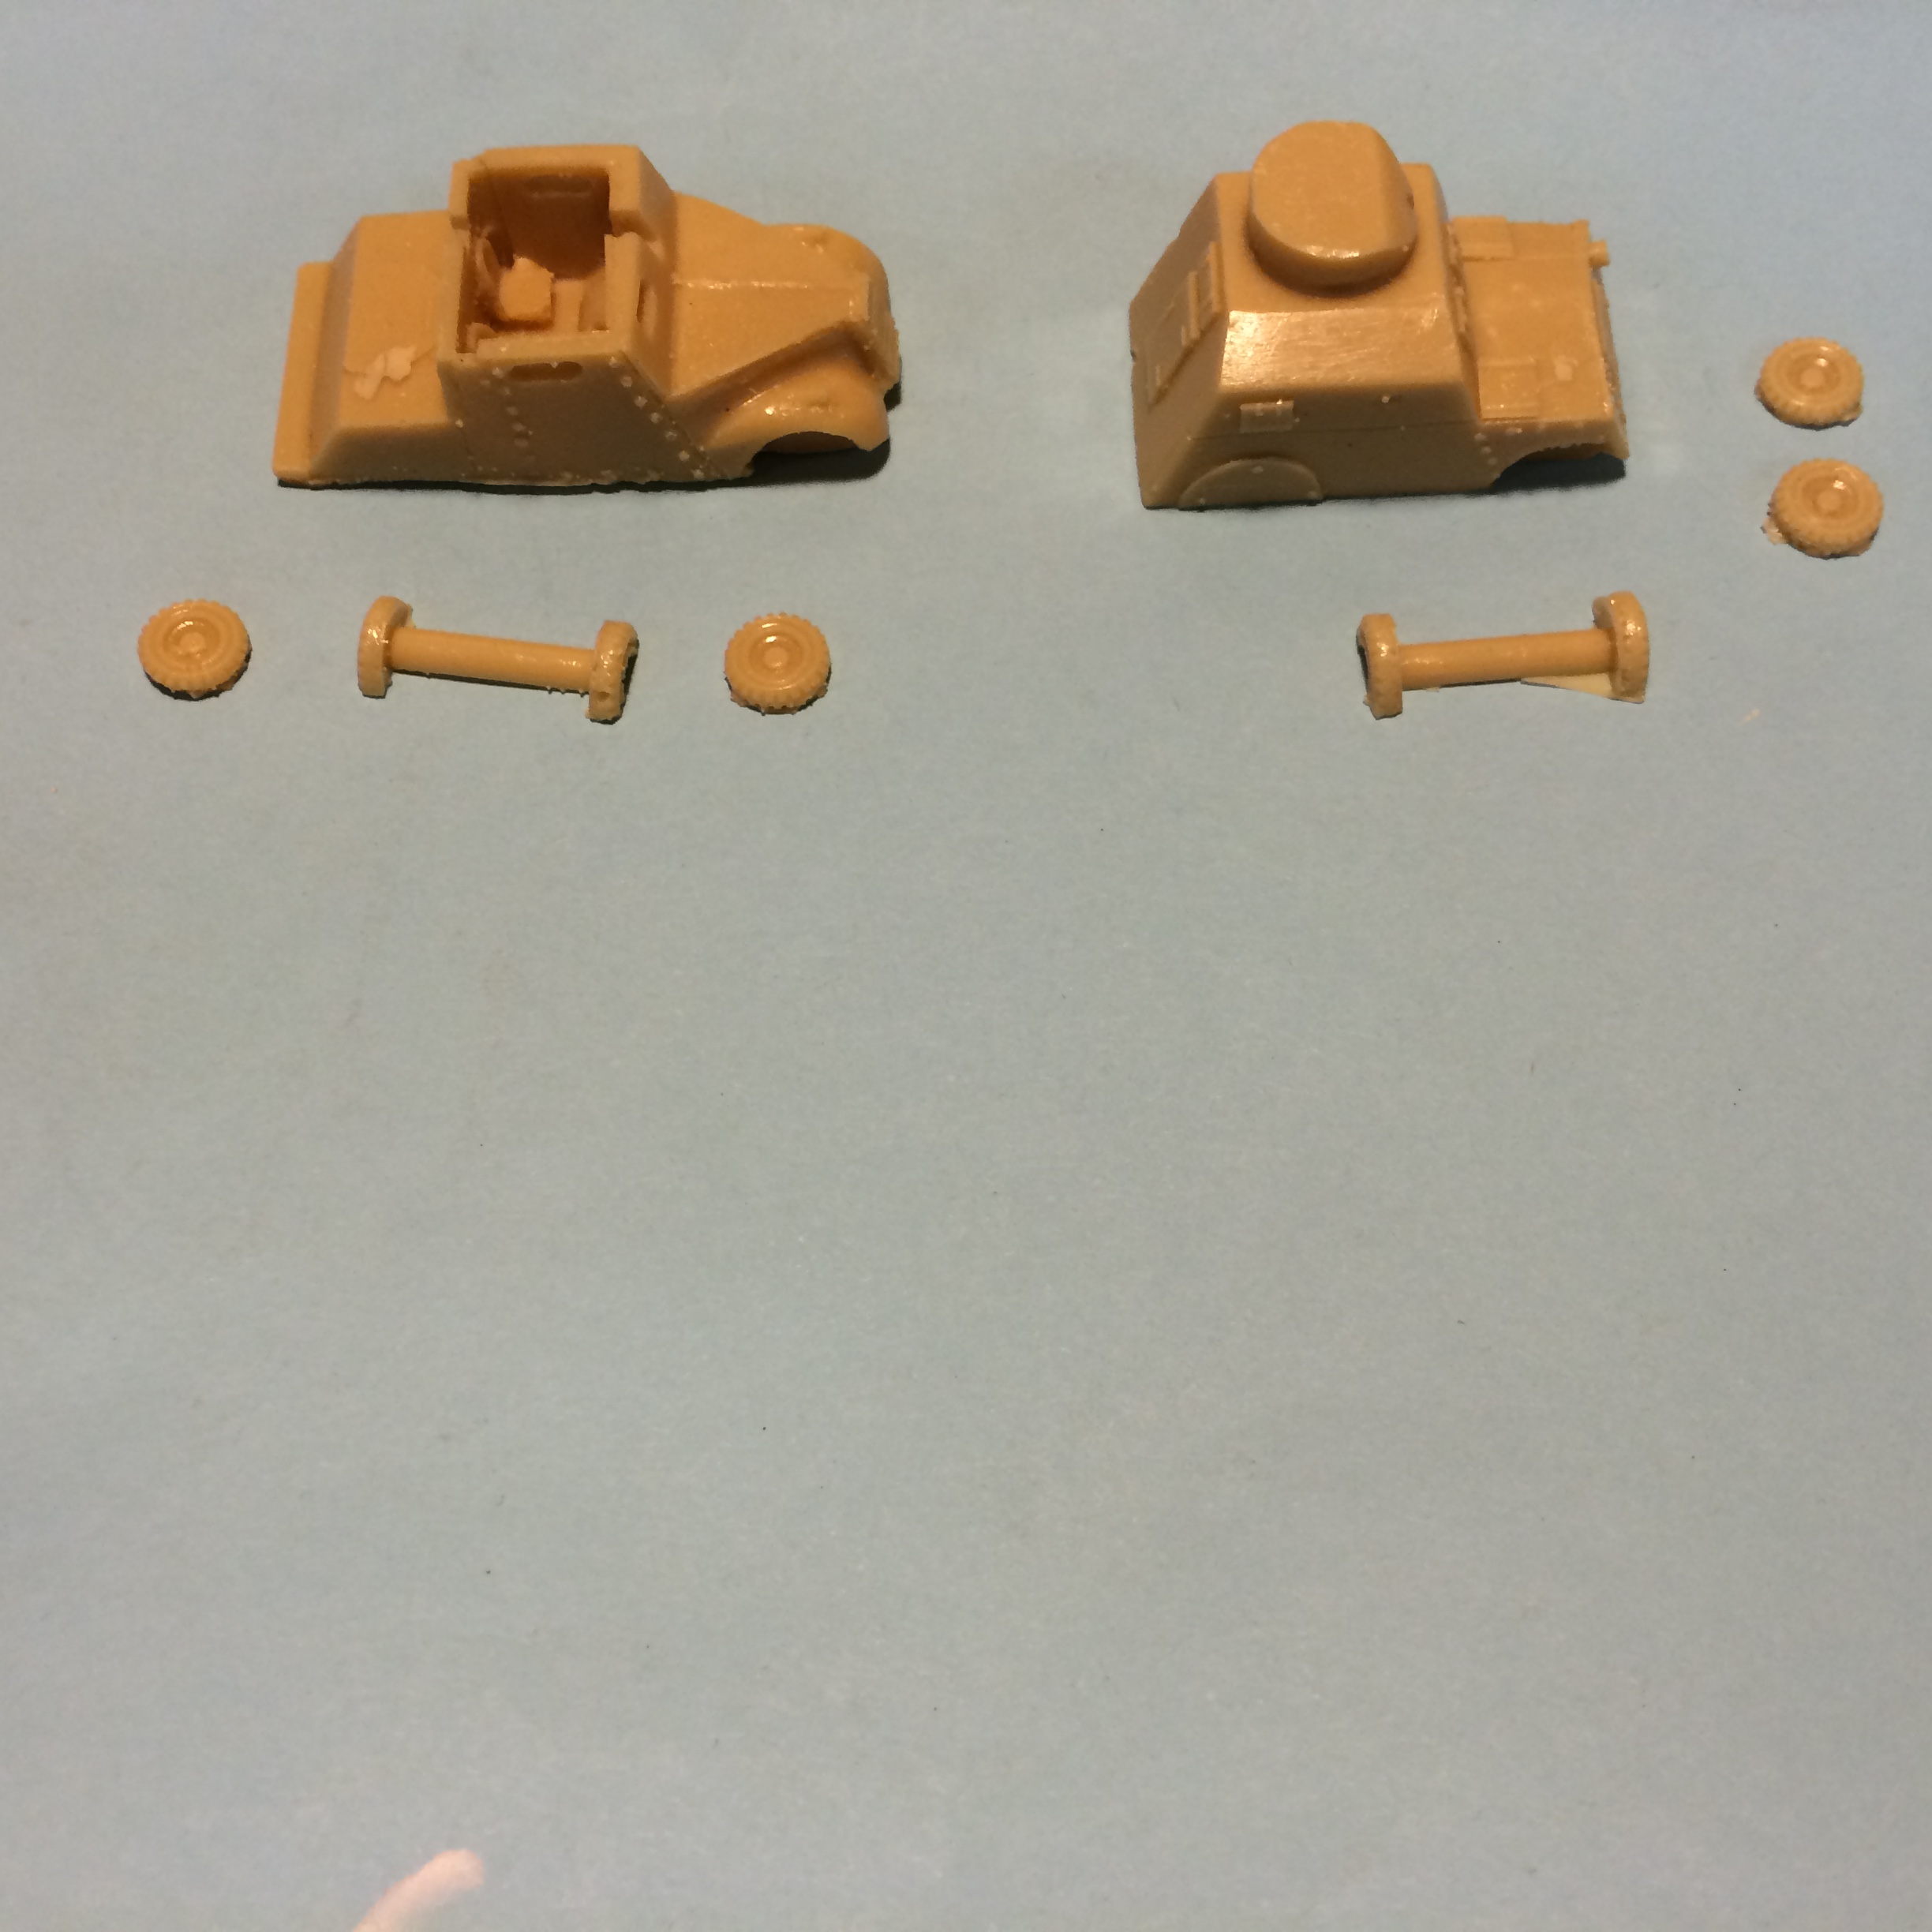
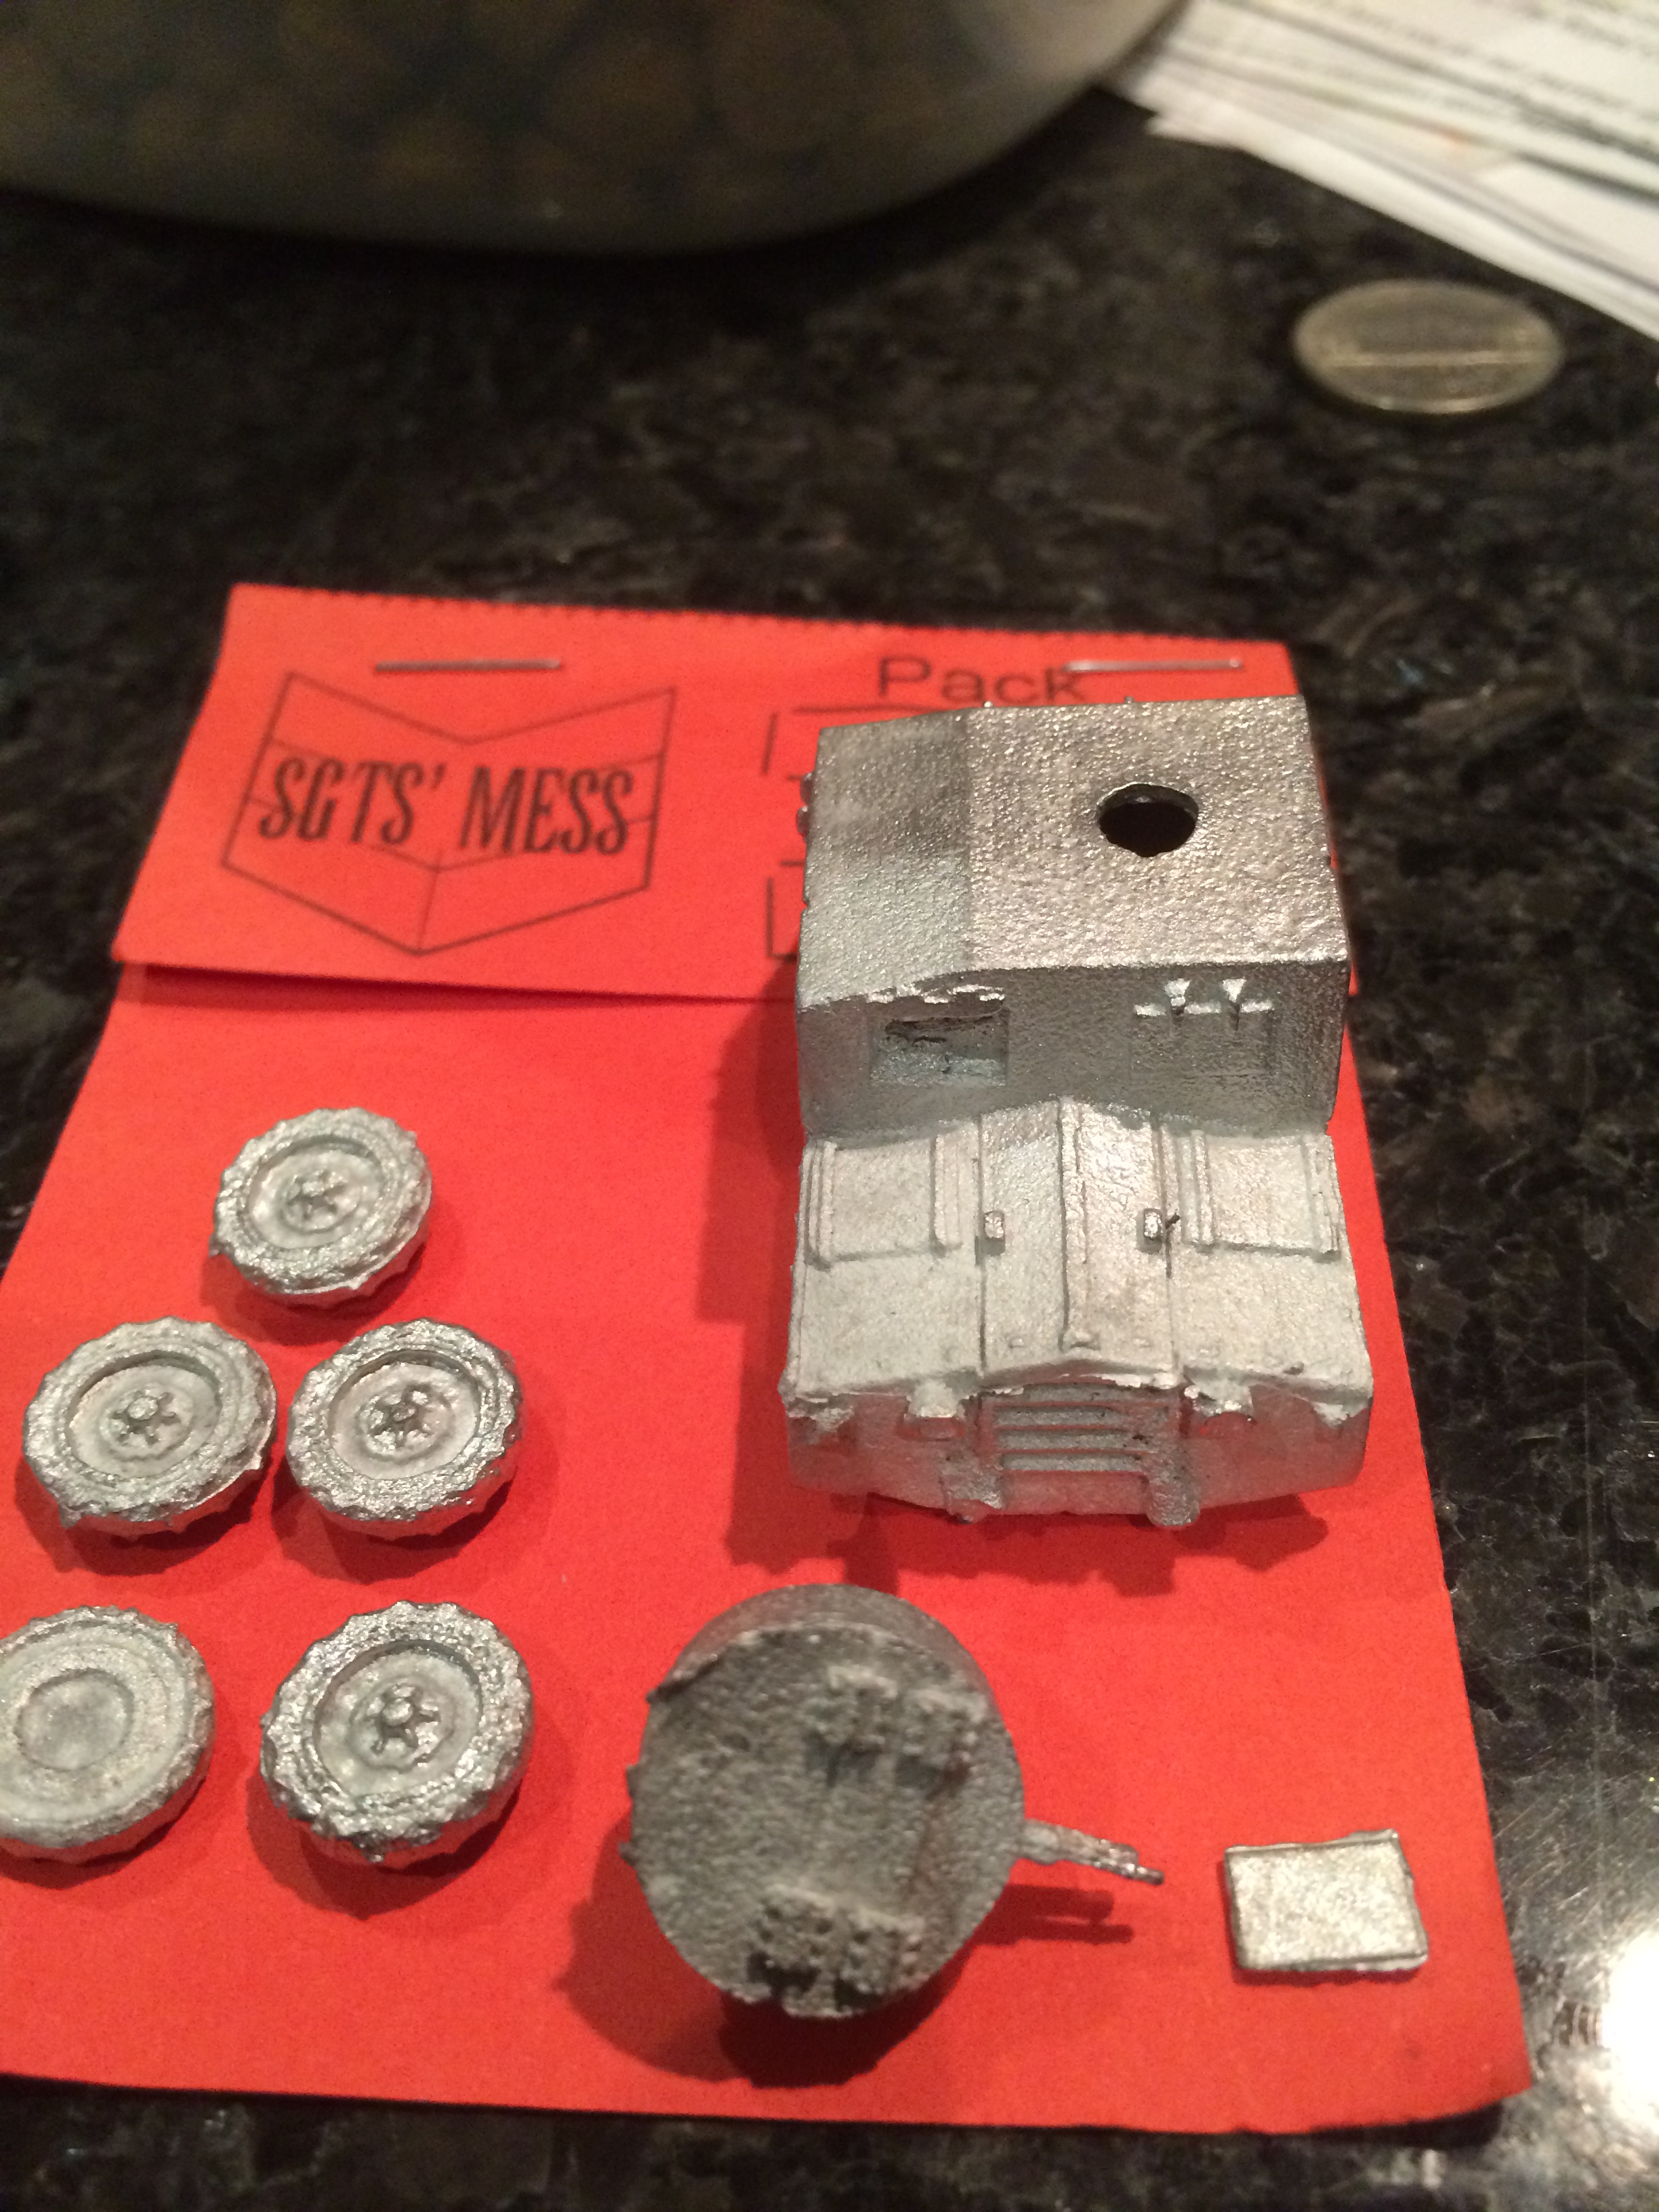
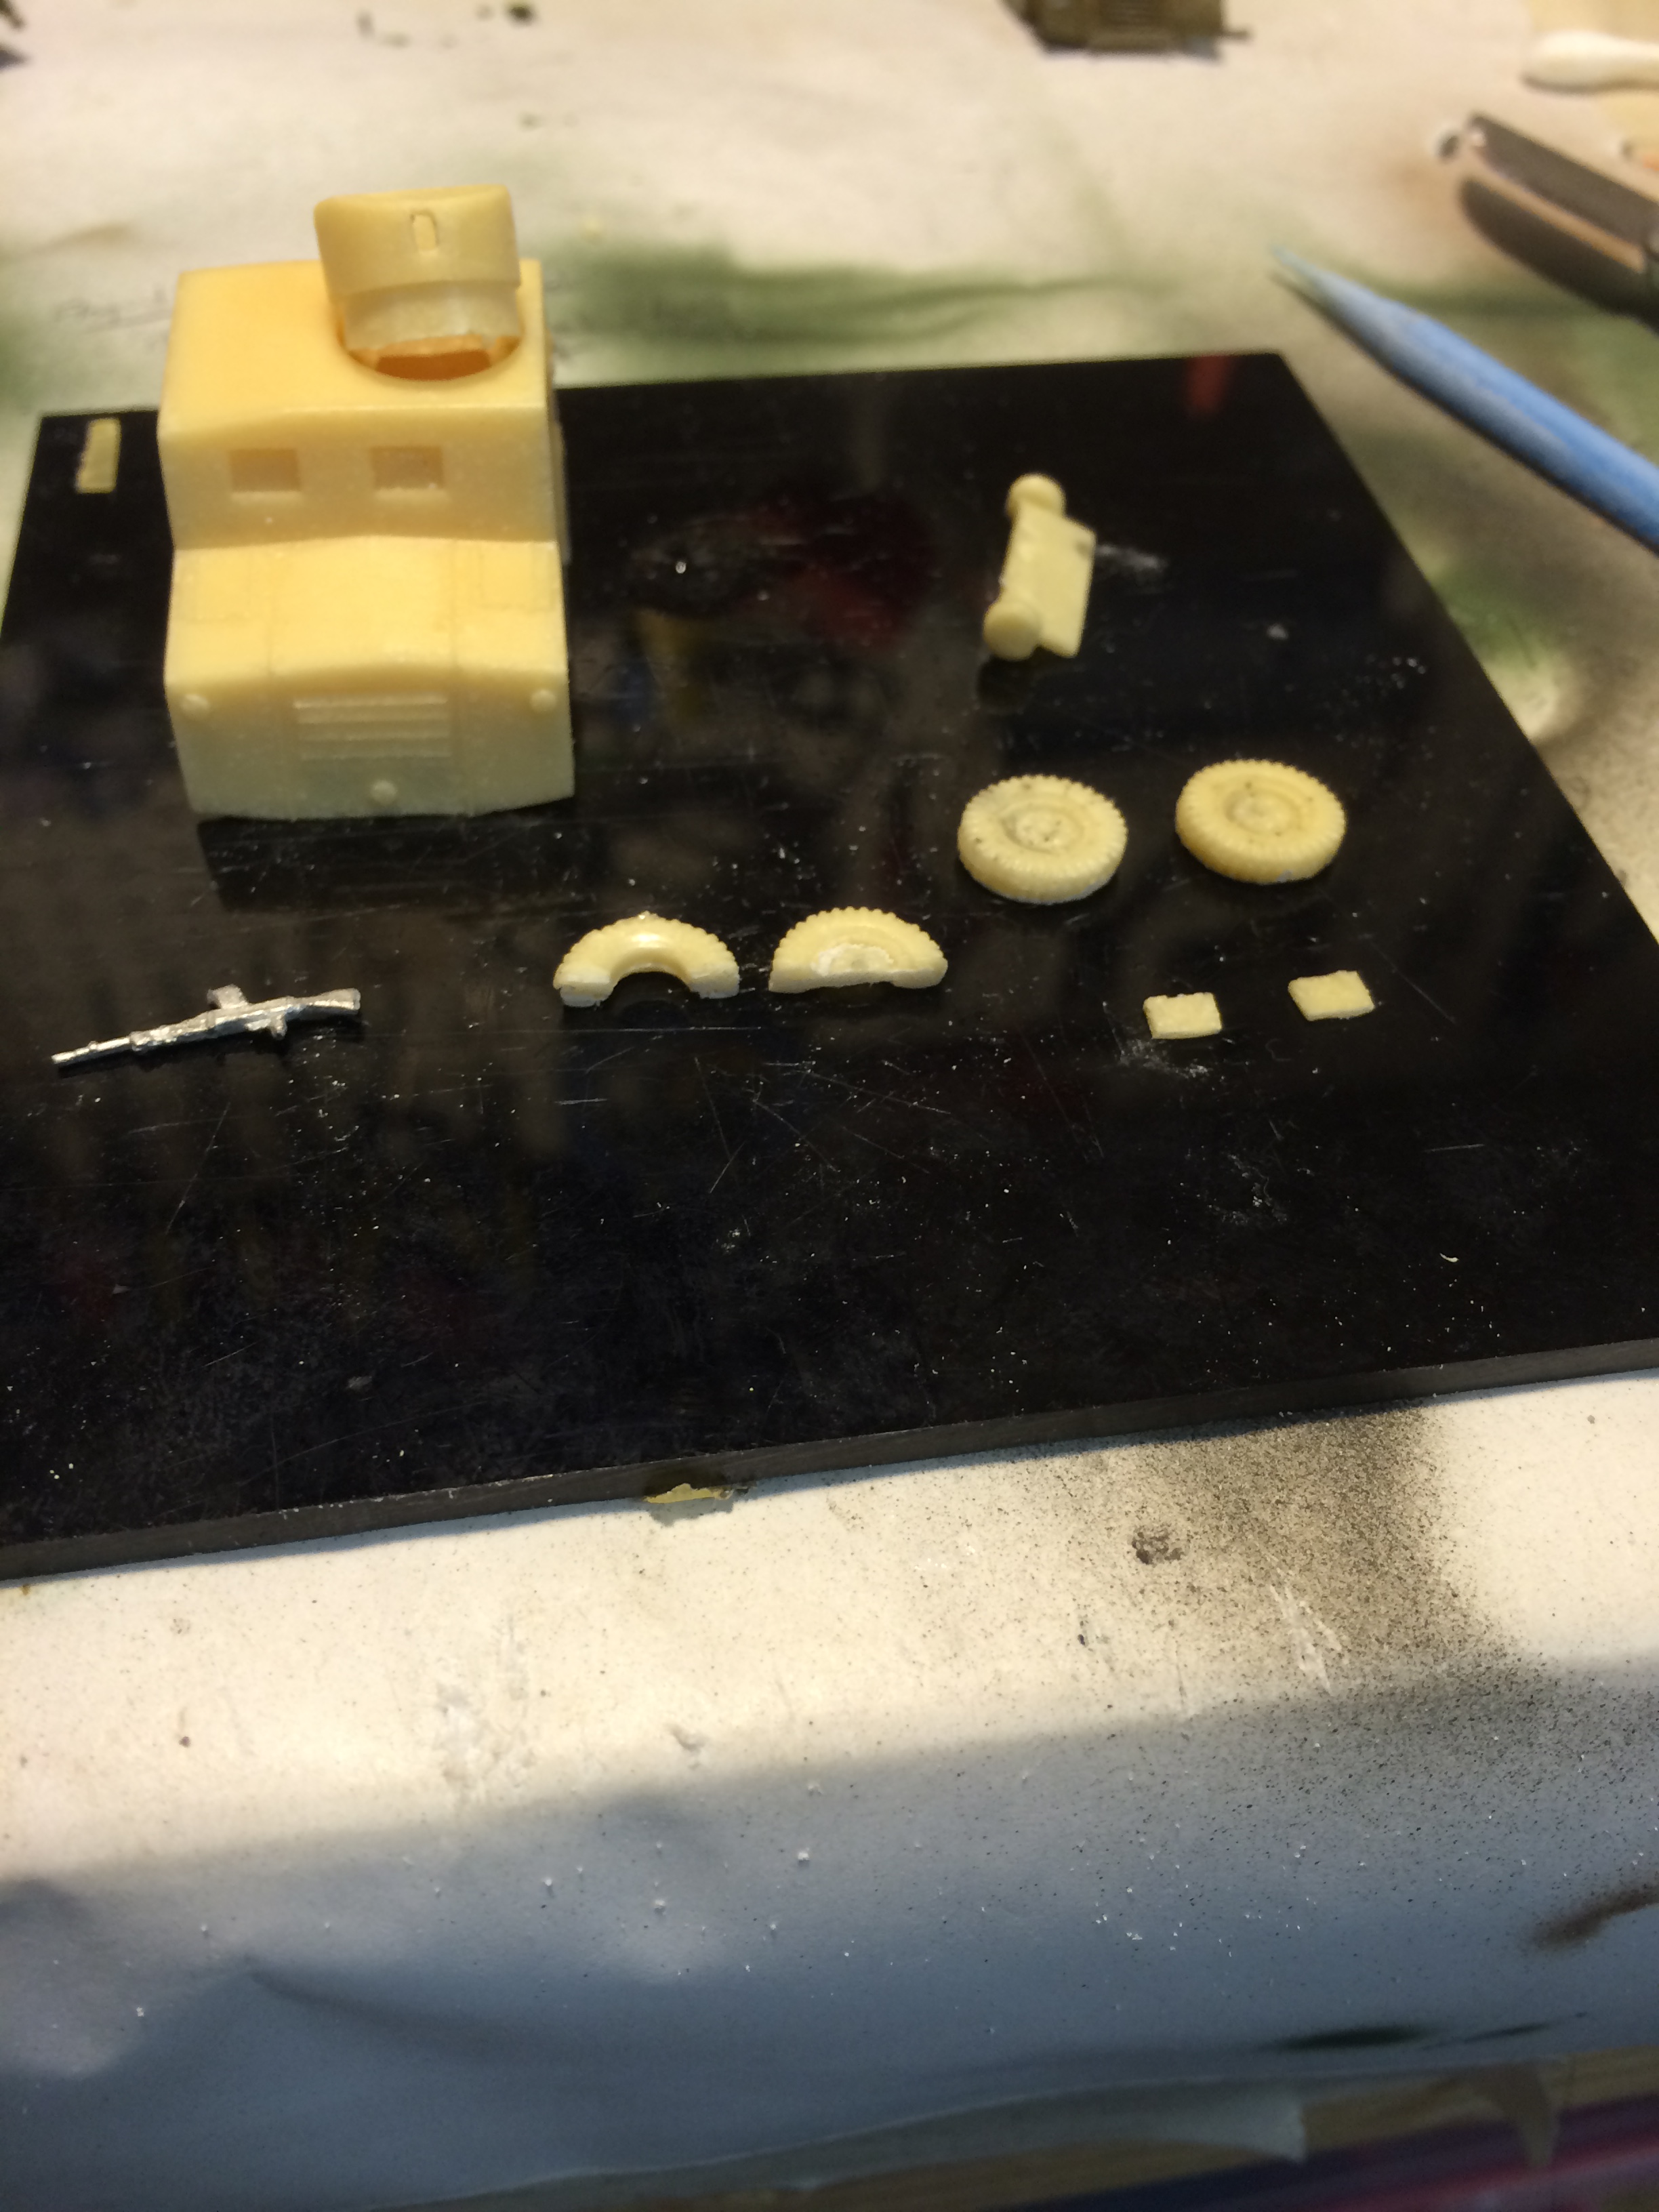
Back row, left-to-right: FrontLine Wargaming, Sgt’s Mess, Gramodel (all Mk IIIs), Frontline Wargaming (Mk I)

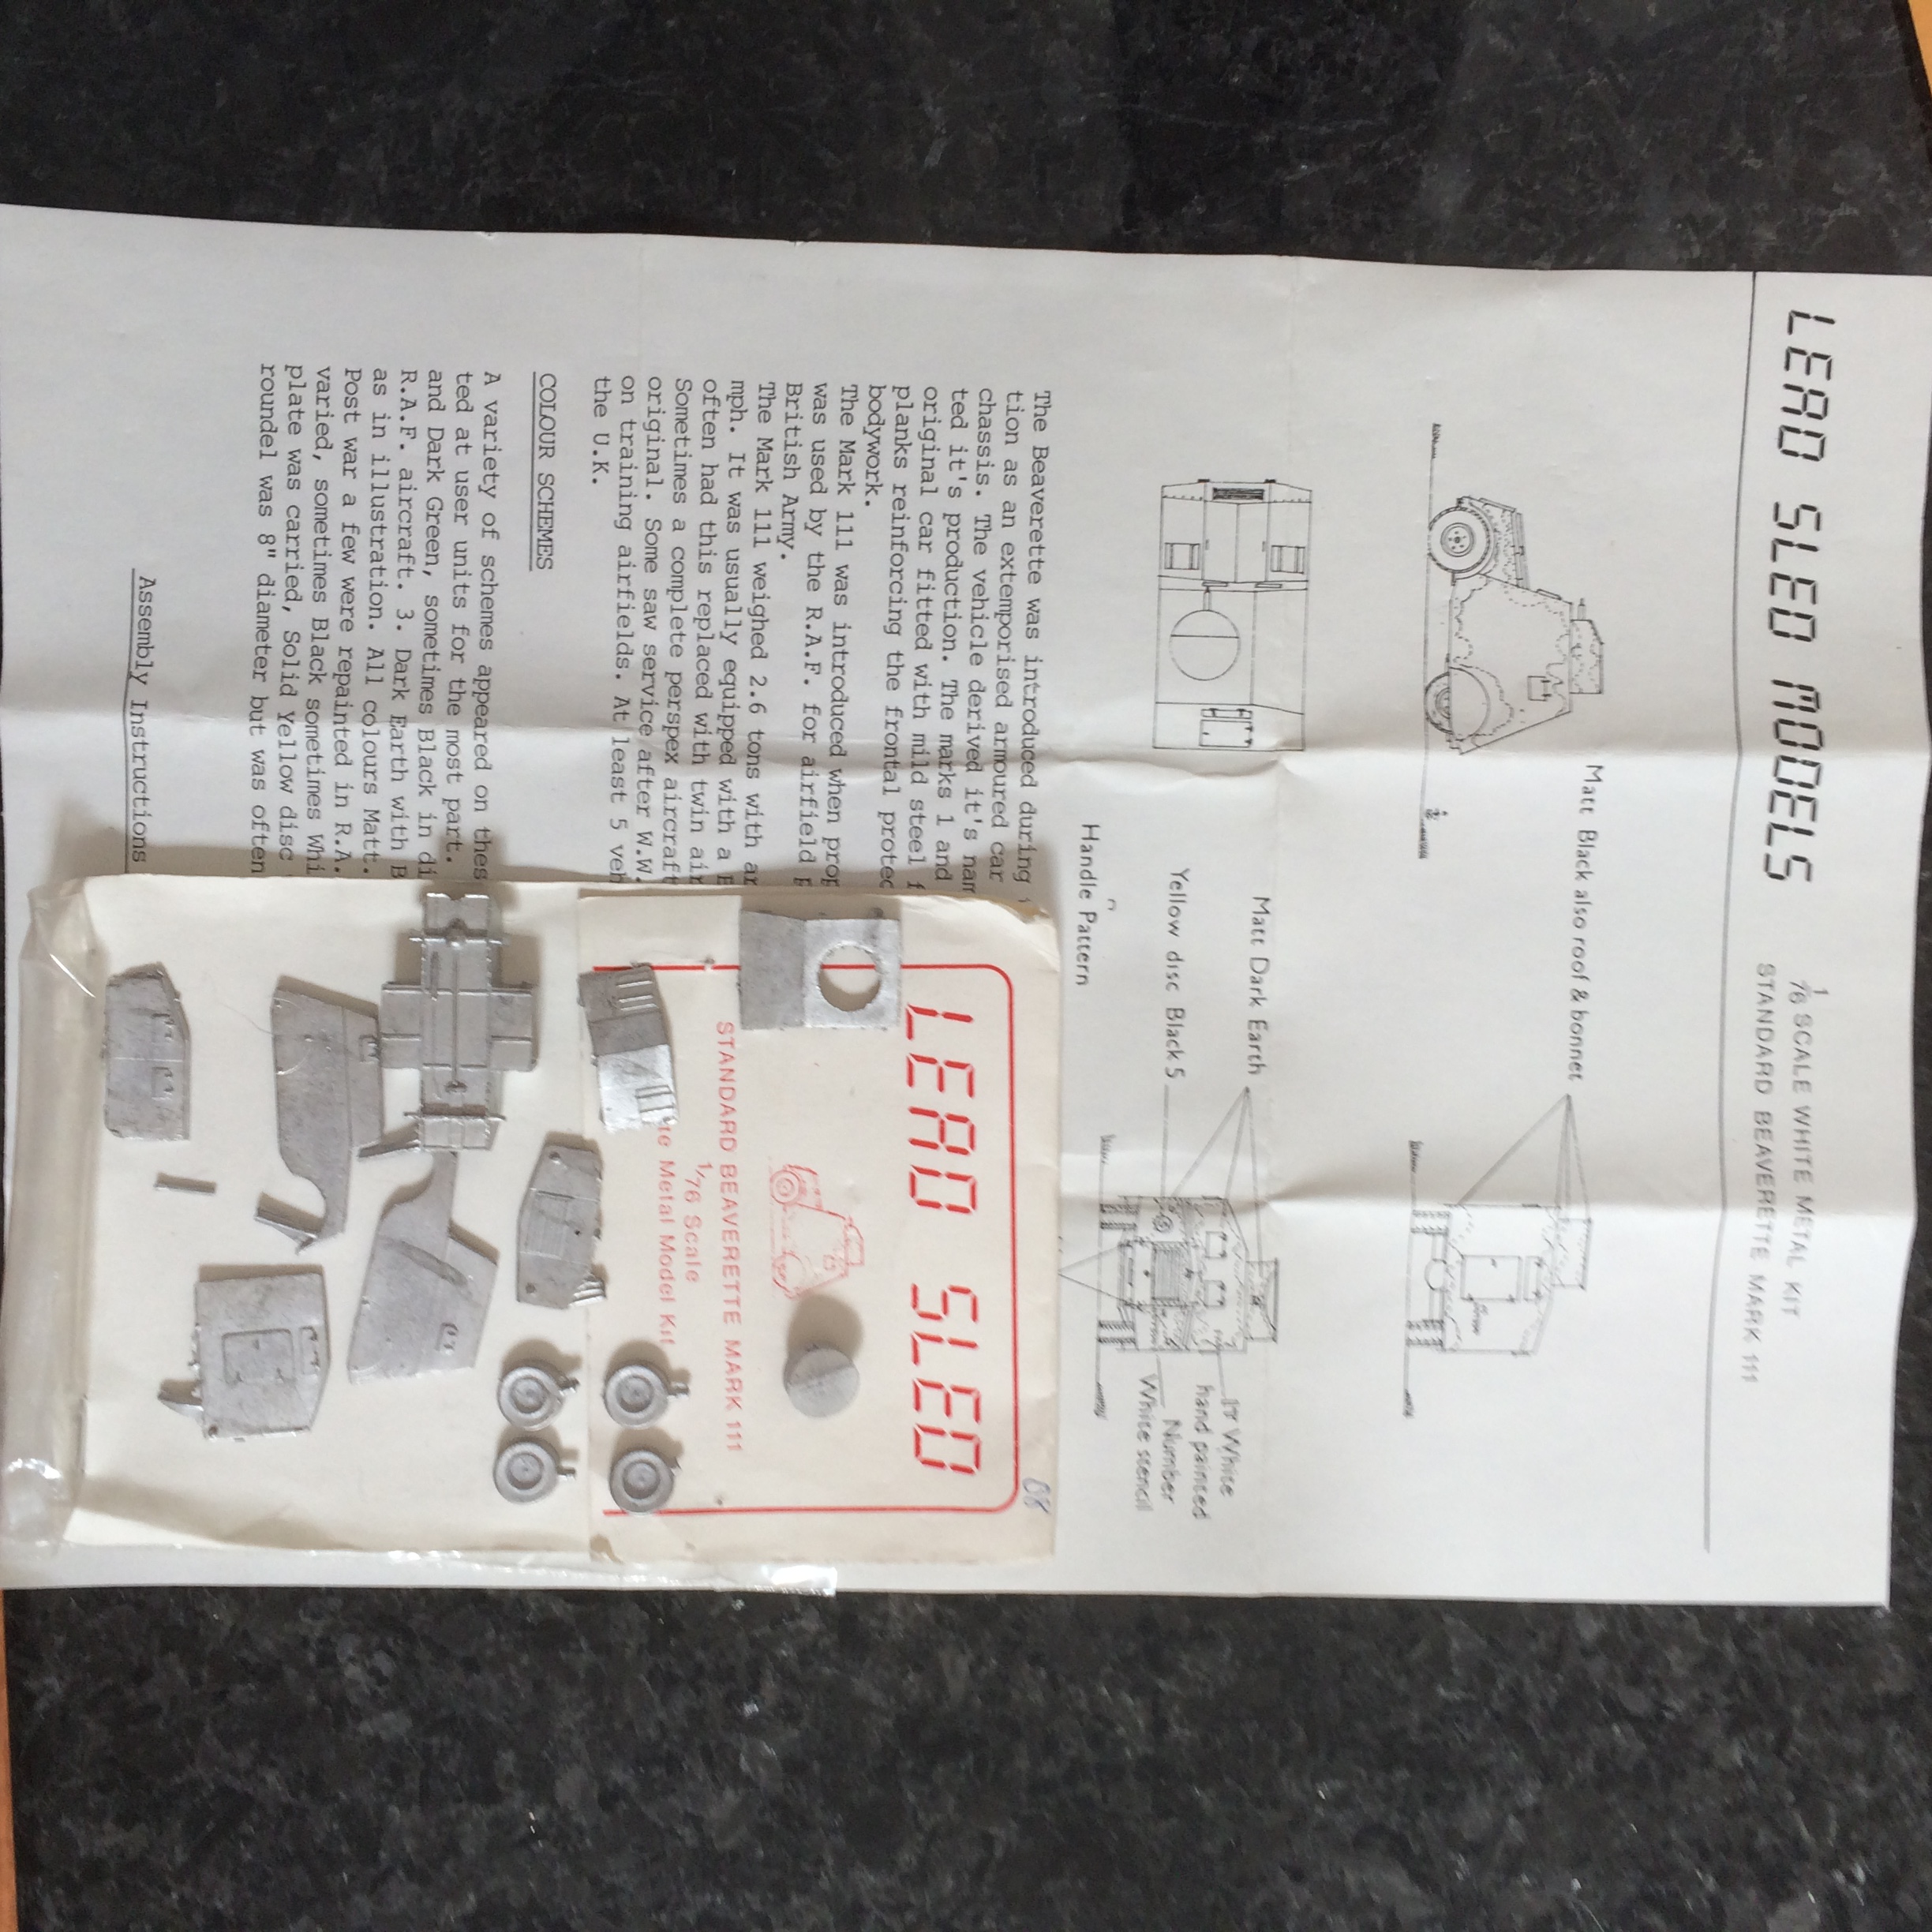
Front row, left-to-right: Lead Sled, Extratech, Firing Line (all Mk IIIs), Bull (Mk I)

Now, there you have it.  Here’s the scene as Lord Beaverbrook comes to inspect his not-identical namesakes.

[Beaverbrook] “Which manufacturer got the contract for these vehicles?”

[Officer] ” Standard Motor Company, sir.”

[Beaverbrook] “Funny name for a company that can’t seem to produce identical copies of the same armoured car, I dare say.”

[Officer] ” Standard didn’t have the capacity for the initial production run so they sub-contracted it out to others, sir.”

[Beaverbrook] “Didn’t they send copies of the plans to the subcontractors?”

[Officer] As I understand it, some over-zealous chaps at Standard had responded to a call for scrap metal and collected up all the rulers, compasses, and drafting tools and sent them off to be melted down into munitions. So, when it came time to send copies of the plans to the subcontractors, they sort of ‘free-handed’ the drawings. Sir.”

[Beaverbrook] “Bloody hell.”

Kit Summary

This was a fun project – my shortest endeavor yet (only six months). I particularly enjoyed chasing down all of the kits from various cottage industry vendors or the aftermarket.  Not quite as simple as going to the Sprue Brothers website!

The only real (as in there are more than 10 parts to assemble) and available kits are:

Thus, I’ll just do Pros/Cons for these three. You can refer to the individual blog pages for the other kits.

Bull Beaverette Mk I

Pros: Lots of detail; three great figures. Options to do a Mk I or Mk II. Well-molded. Accessories and stowage. Friendly vendor.

Cons: Some of the resin parts are tricky to remove (rods abutted to the pour block). No decals. No chassis detail.

Firing Line Beaverette Mk III

Pros: Lots of detail. High quality instructions. Theoretically possible to do an interior as the hull is folded PE rather than a resin block. You’ll feel good after wrestling the flat PE into place as a 3D model.

Cons: No chassis detail. No decals. Be prepared for soldering. Some of the PE parts are really small (grab handles).

Extratech Beaverette Mk III

Pros: Almost as much detail as the Firing Line.  Includes decals. Twin Vickers machine guns are a nice touch. Chassis detail.

Cons: The two-part PE cylinder turret assembly is very tricky and if you mess up, recovery is ugly. The PE Vickers machine guns are difficult to assemble.

Last words

I’d buy additional kits from any of the above three vendors again – knowing that they’ll challenge me more than an injection-molded styrene kit. The vendors are serious about their offerings. In fact, I have several Firing Line and Bull Models kits awaiting work.  I’m just waiting on the right inspiring photo.

That said, if you just want a Beaverette Mk III for a diorama and don’t have time to invest in constructing one of the above kits, consider the Gramodel Mk III.  If you are lucky enough to get one without mold sinkholes, it is super easy to assemble and has enough detail to be compatible with your other vehicles. Or, find a Lead Sled Mk III for an almost as rapid assembly with reasonable detail.

Scale versus Reality

Since I went to the trouble of building all of the Beaverette Mk I and Mk III kits, it would be interesting to see how they matched up to the actual vehicle specifications. Since some kits purported to be 1/76 and others 1/72 but no two are alike in dimensions, I’ll compare against both Wikipedia 1/72 and 1/76 reference points.

Now, some caveats:

  1. I didn’t verify the Wikipedia actual measurements so we’ll assume they are correct.
  2. It is hard to know, especially for the width measurement, as to where the measurement is made (at axles?, at driver’s position?)
  3. Actual measurements are probably accurate to within .01 inches using my calipers

And the results:

Beaverette Measurements

And what can I conclude from the above?

  • The Lead Sled and Gramodel Beaverette Mk IIIs are closest to Wikipedia in 1/76 scale. But the first kit is very hard to find and the second isn’t a ‘rich’ kit in terms of assembly.
  • The Sgt’s Mess and Extratech kits are about the same for a 1/72 kit but there’s no comparison in terms of modeling fun between the two (Extratech taking the honors by far)
  • Both Beaverette Mk I’s are excellent in terms of length but apparently too wide for 1/76. Again, it is hard to know what is supposed to be measured.


**Update 10 Jun 2015**

I had forgotten until today that I possessed the 1/76 plans for the Beaverette Mk III from Airfix Modeling Guide 27 Modelling RAF Vehicles.  Now the source of the plans appears to be John Church of Lymington, UK (prepared sometime before 1978) and I can’t verify them against the real vehicle specs but we’ll assume they are accurate.

So, how did the models compare to the plans?

  • The Gramodel and Lead Sled are close (straddling the expected dimensions)
  • The Firing Line is closer to 1/72; the ExtraTech is still too large
  • The FrontLine Wargaming should really be declared 1/72, not OO scale on their web site

Beaverette Mk III vs Airfix plans


Painting, Decals and Weathering

I painted in batches as not all of the kits were ready to paint at the same time.  My paint of choice was Vallejo Lifecolor using an Iwata Eclipse CS airbrush.  I love these Vallejo paints. The bottles allow for precise drops and when mixed with Vallejo thinner and retarder, they sprayed easily without too much clogging at the nozzle.

I opted against going with Mickey Mouse camouflage as that requires a lot of masking and there were eight vehicles to do. So, an early war scheme was chosen with paint mixes taken from a fellow Internet modeler’s documentation of Khaki Green #3 and Dark Green #4.  For the first couple of Beaverettes, I didn’t add any scale white but changed my mind for the latter six.  Given that the six Mk IIIs were all different sizes in scale, the fact that they weren’t painted the same didn’t seem implausible.

The first color was Khaki Green which I then over-coated with Future to prevent the masks from lifting up the base color (on some of the Beaverettes, I got bolder on the latter bunch and dispensed with the Future). Then I masked with Silly Putty which is quick, lifts easily and doesn’t take the Lifecolor acrylic with it.

Extratech+Flightpath Rear w camo ideasBull-GraModel-SgtsMess-Extratech-Flightpath all diff sizes

Masking w silly putty Masking w Silly Putty II

Here is with the Silly Putty removed:

Masking afterwards

After all this was done, I applied Future and let it sit for 48 hours.  Decals were applied, the decals cured and then covered with Future again. Finally, weathering.  I like to use dot filters and you can see the first stage of this here on the Sgt’s Mess Mk III (no amount of weathering was going to cover up this kit’s faults)

Frontline after weathering

I opted against pigments for mud and its cousins as this was an inspection scenario so the vehicles would be tarted up for the big smells.

A few words on decals.  I used a combination of these decals:

I never used the Extratech decals. No other kit had any decals included at all.

Purists will have plenty of reason to quibble over my choice of vehicle registration numbers. But, may I remind the gentle reader that we’re dealing with an eventual diorama here of an inspection of hastily-assembled Beaverettes in Britain’s time of need. Poetic license liberally taken.

Frontline Wargaming Beaverette Mk I/II and Mk III

Like the Sgt’s Mess “kit”, these two examples are intended for the tabletop wargaming crowd.  There wasn’t much to these hard resin guys:

Frontline Mk I-II and III

Look at the sides to the crew compartment on the Beaverette Mk I/II – they are molded so thick that were it armor, it would stop an 88mm shell fired at point blank range.  There was no way I was going to thin that out.  The Mk III at least wasn’t oversize like the Sgt’s Mess example.

Sgt’s Mess Beaverette Mk III

Ugh.  My first foray into ‘kits’ primarily intended for tabletop wargaming did not yield a very attractive model.

Here are the parts (no instructions or decals or detail bits):

Sgts Mess parts

Look at the oversize fittings on the turret or the hatches!  The metal was not smooth at all and in some cases, not even cast in a plane. A good example was the rear panel which I attempted to even up with putty. You can also see the oversize detail on the rear hatch.

Sgts mess - oversize details

There was so much wrong with this kit (it was considerably bigger than its sister Beaverette kits) and it would take endless hours to smooth out the surfaces and reduce the fittings – but it would still be oversize.  So, I opted to build it out-of-the-box (or out of the plastic bubble wrap) per se.

Gramodel Beaverette Mk III

Apparently, Graham Baker, the proprietor of Gramodel, did the master mold for the Bull Models’ Beaverette Mk I/II so I was looking forward to his Beaverette Mk III.  While I have a lot of respect for anyone who can do masters and then cast copies from molds, there wasn’t much to the Gramodel Beaverette Mk III.

GraModel parts

The kit comes wrapped in packing material within an envelope. No instructions (not that you would need them) and no artwork or painting guide.The one thing I did like was there was an open top turret allowing me to pose a figure (not supplied). No other Beaverette supported this option out-of-the-box.  There were two downsides to this kit:

Issue #1 – The hull had many mold bubbles that needed to be filled and sanded. The primed surface accentuates the pit holes as you can see:

GraModels w molding bubbles

Issue #2 – Another disappointment were the rear “half” wheels. On one wheel, the tire was molded but the wheel rim failed to capture any resin. You can see this in the parts layout in the first photo – compare the rear wheel halves left versus right.  I thought I would give a go at molding a replacement using, as a master, the good wheel. I tried some Composimold but botched the placement of the master in two tries. Feeling disappointment with this kit anyway, I took a spare wheel of the right size from an Airfix vehicle kit and bisected it.  Good enough.

Gramodel in focus (cropped)

Bull Models Beaverette Mk I/II

This was my favorite kit of the bunch.  The proprietor, Peter Bailey, was a delight to deal with. The kit was well-molded, had lots of interesting detail, and had three superb figures to go with the model.  It is 100% resin and hence I could put the soldering iron away.

Bull Mk I-II parts

I didn’t take any pictures of the assembly as there was nothing of particular difficulty. Everything fit fine. The only bit that was tedious was removing tiny rods from resin pour blocks with my razor saw. But I didn’t have to roll out any PE into perfect circles so I was happy.

Instead, I’ll discuss the figures.  The Beaverette had a crew of three but seats for only two so one poor guy has to stand up as behind the driver. This was going to make for a crowded compartment what with seats, legs, steering wheel, Bren gun and rear panel. Test fitting revealed that the Bren gunner would need a different arm that was closer to his side than the one provided in the kit. The driver’s buttocks and shins needing some sanding to get him to fit as far forward into the compartment so the standing guy had a place to put his feet while still allowing the rear panel to fit snugly..

Bull FiguresBull seated figure - new arm that fits Bull FigureBull Figures installedBull clamping rear panel

But, as you can see, with a little clamping, everything fit and I even managed to get the standing guy’s hand to rest on the side of the compartment as intended.

Lead Sled Beaverette Mk III

I have no idea when this was made and was lucky to find it on eBay.  One clue is that the instructions appear to have been composed on an IBM Selectric typewriter. The kit does come with a simple instruction sheet and is 100% white metal.

Lead Sled parts

You can see there is even chassis detail, something only the Extratech also had.  Given this was a rare find, I opted not to learn how to solder white metal with this kit and went with 5 minute epoxy instead. Assembly was straightforward.

Lead Sled assembly Lead Sled assembly 3 Lead Sled assembly 2

I used highly diluted phosphoric acid to clean the parts. Much filler was required. I think I put too much on and this took quite a bit of sanding to make look decent.  Clamping is crucial with epoxy.

Somewhere amidst all the Beaverettes, I lost the white metal rod for the gun and replaced it with a Bren gun cut from the arms of an Airfix British soldier figure set.

There’s not much more to say.

Extratech Beaverette Mk III

The Extratech Beaverette Mk III is a resin + PE kit. Unlike the Firing Line Beaverette (1/76), the Extratech is 1/72. As we’ll see later, this didn’t really matter when placed side-by-side with the rest of the Beaverette brood.

Here’s a quick look at the parts (there were even decals, something no other kit provided):

Extratech parts

After cutting the parts from the resin pour blocks, everything got washed.

Extratech parts wash

I had to punch out some spacers to fit in the wheels so the axle would fit properly

Extratech chassis detail

For this scale, the chassis has decent detail. The Firing Line Beaverette had nothing. A little wheel painting and test fitting/gluing using a jig completed the chassis.

ExtraTech Wheel Jig

The turret was exasperating as the cylinder segment was two separate PE parts. One, when rolled, was about 270 degrees, the other was about 90 degrees of the circle. These had to be joined up to fit inside an inset on the hull top. You can see me using a dowel to try and press the rolled PE into place.

Extratech forming the turret

From the front, with the turret top on, it doesn’t look too bad. But from the rear, the fit was awful and self-inflicted as I obviously hadn’t perfectly rolled out the two partial cylinders. Much filler and sanding ensued. At this point in the model building, I realized that the cheap construction of the real world Beaverettes was being mirrored by my own efforts.

Extratech frontExtratech turret

The only other really tricky bit on the Extratech were the twin PE Vickers machine guns which I attempted to solder together. The joints are extremely small and needless to say, with a bit of handling, they broke. I put this aside until after painting when I would have the turret gun mount to assist in the gluing.

Extratech half of twin vickers

I’ll cover painting and decals in a later post